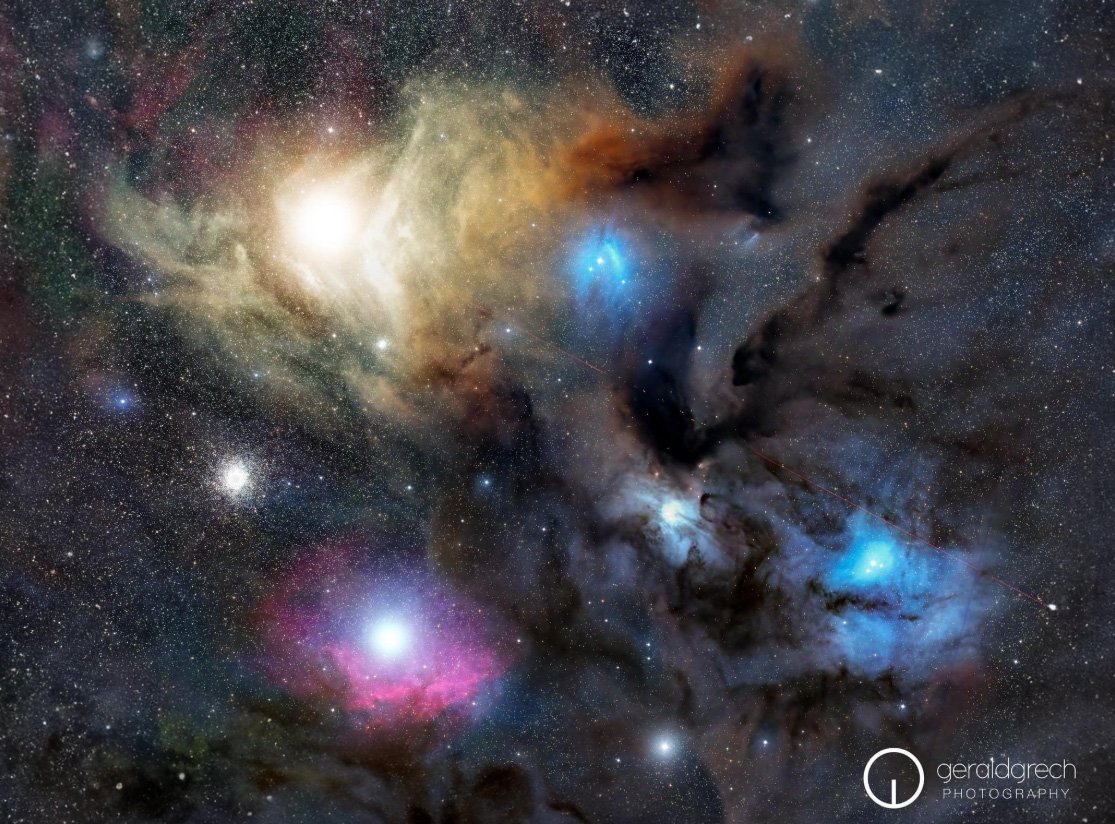
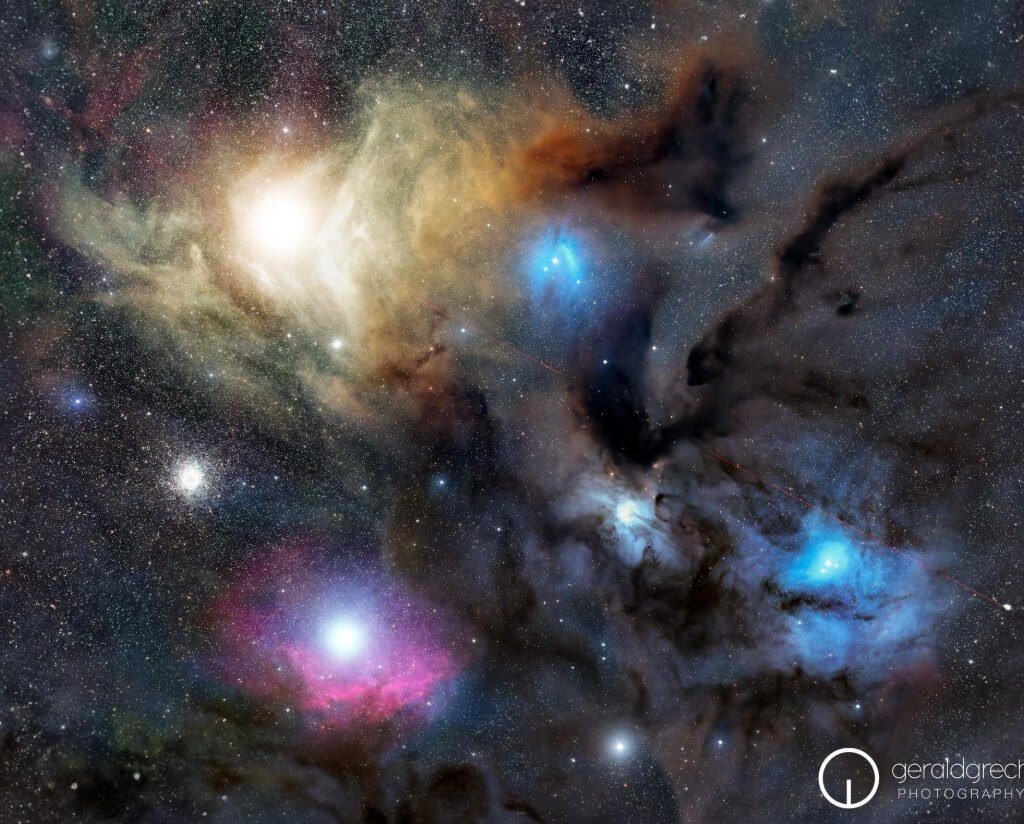
You can take beautiful wide-field images with DSLRs attached to their own lenses. Depending on your lens’ focal length, you’ll get large nebula-size images (such as Gerald’s Rho Ophiuchi image here) through constellation size right up to entire Milky Way size. But getting a rig together that is capable of it can be a nightmare.
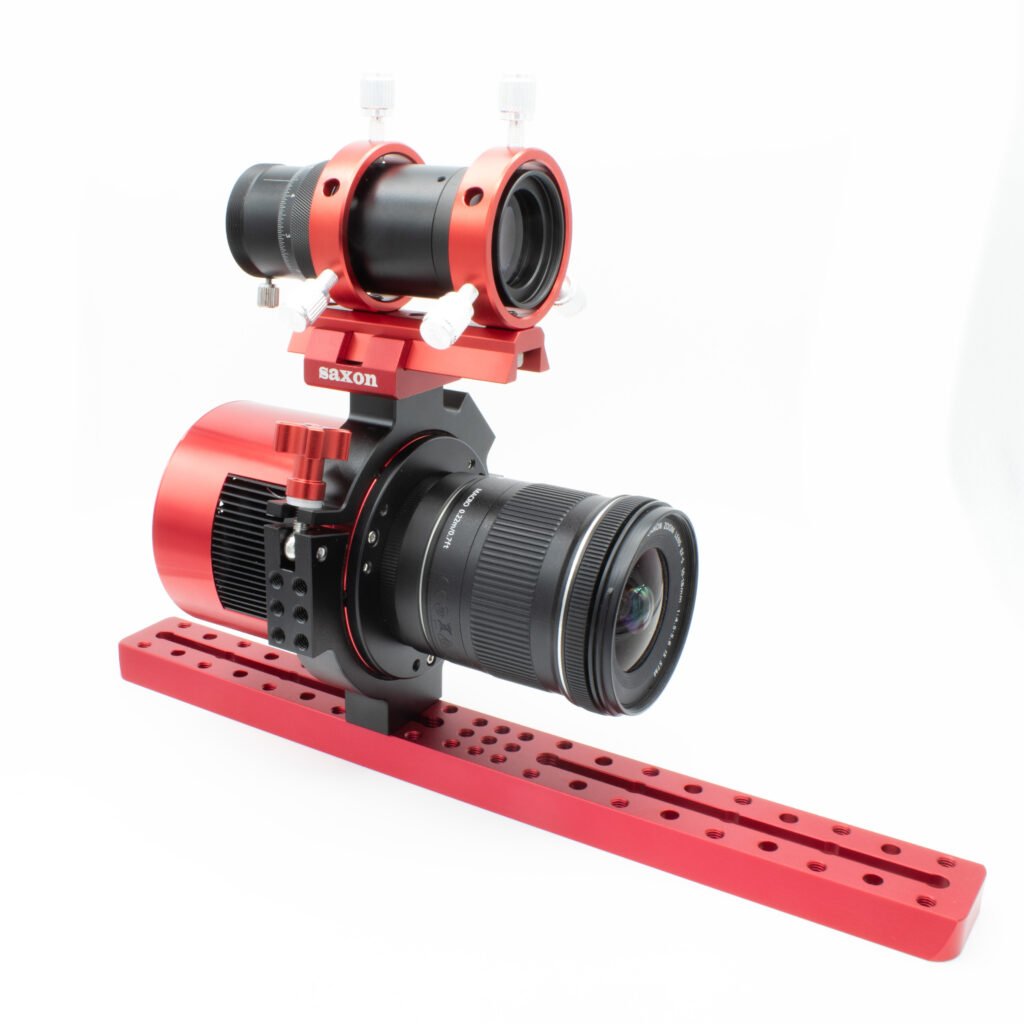
For this blog, we put together an image train that gets you very long exposures with any length camera lens. There were lots of details and problems we encountered, but at the end we had a rig that you can put together easily. It’ll go onto your go-to mount using a Vixen-style clamp.
A camera lens
The widest Milky Way shots are the most forgiving. For these, you’ll probably be using a very wide-angle lens, like a 10mm or 15mm. But inevitably, like all astrophotographers, you’ll want more.
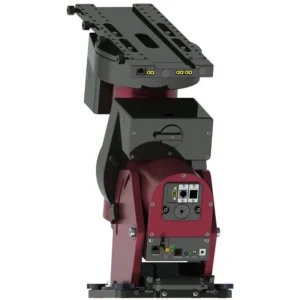
A longer lens, such as an 85mm or a 135mm gives you a tighter field, but it increases the challenge of the image. The longer focal length magnifies all those tiny wobbles that your mount inevitably introduces. Unless you’ve spent some serious cash, your mount will have its limitations. Even if you have your mount set up, balanced and polar aligned very precisely, your stars will turn into little bits of spaghetti, completely ruining your image. The stopgap solution is to shorten your exposures, but this is going to mean losing those faint “not-quite-black” details you get in dark nebulas.
At the extreme, using something like a 500mm telephoto for single-nebula images is next to impossible. Your non-spaghetti exposure length is going to be so short your images will be black.
A guide scope
The proper solution for this is autoguiding.
Autoguiding works by introducing a second imager (a small telescope and camera) into the system. This guide scope and its camera are bolted securely in place so that it points consistently in the same direction, no matter what angle the rig is pointing.
A computer controls the mount, and the guide camera tells the computer how well the mount is tracking. Whenever the stars begin to drift, the mount senses the error through the guide camera and compensates by nudging the mount.
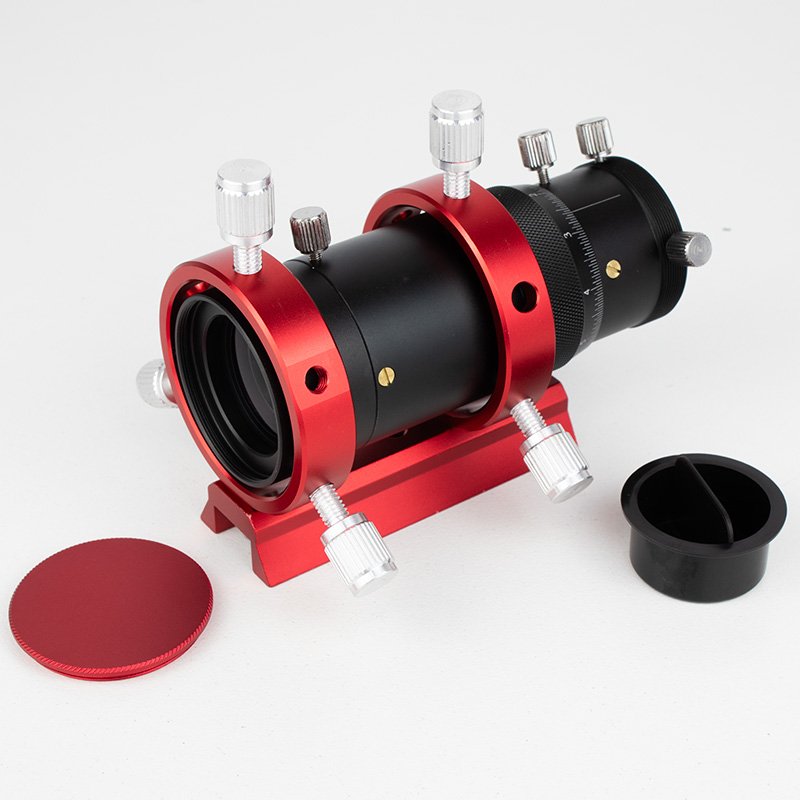
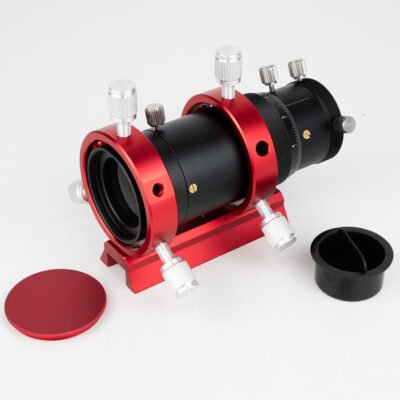
Here’s a guide scope. As you can see, they’re very small. The guide camera slides in the back.
Autoguiding can get you from a “not good enough” 15 second exposure to a rock-solid 300 second dark-sky wonder.
A cooled sensor
But these long images are limited by the DSLR’s noise. You need long exposures to pick up those faint details on the edge of the Milky Way or in nebulas. Try to do this with a DSLR and you’ll begin to notice snowy patterns on the images. This is noise resulting from an increasingly warm sensor.
The way to avoid this is to use a camera with a cooled sensor. Using this, including proper dark calibration, you can get those 300 second exposures and be confident that anything on the frame is actually part of the nebula, not speckles or glow from a warm sensor.
Building the rig
So, we have a few components we have to put together. And here’s an entirely new challenge!
We’re bolting a number of different components together, and these components aren’t always made by the same manufacturer. If you’ve ever tried this, you’ve probably found that threads are different, counterbores are different, distances between holes are different, and it goes on. We had this problem a number of times before, and our mantra is “if you’re putting stuff onto a dovetail, pretty soon you’ll reach for the drill”. For this exercise, we found components that go together, which will save you time, frustration and risk.
Camera adapter
First, you need an adapter of some kind to attach a camera lens (with its mounting bayonet) to the astro camera. Cameras are designed for telescopes, and adding a camera lens isn’t always straightforward. There are a number of these adapters available, many of which come with provision for a filter wheel or drawer if you’re shooting in monochrome. Which one you need will depend on your lens, your camera and any other component you’re using.
Once you’ve got your camera and lens together, you might find another problem.
Camera mounting ring
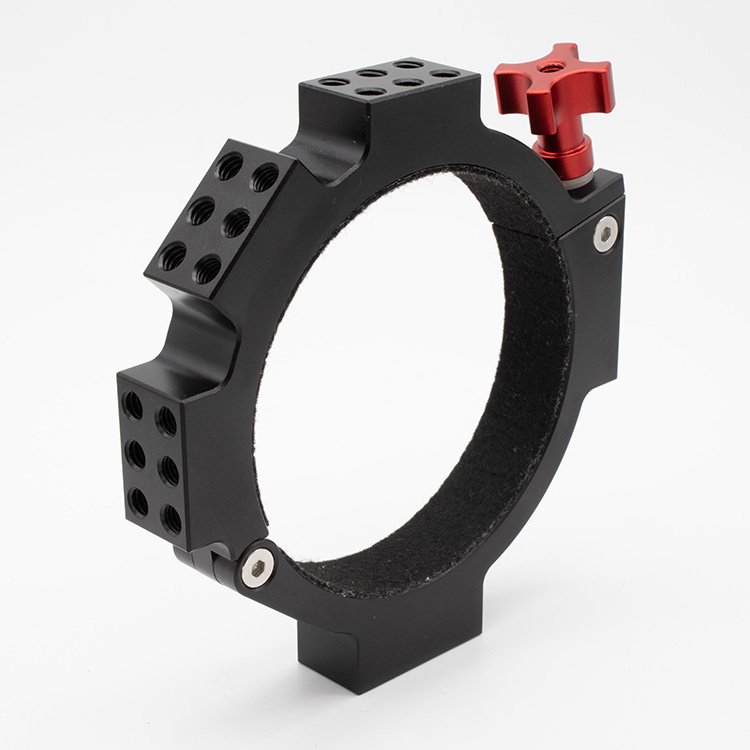
Unlike DSLRs, astro cameras don’t normally have anything to mount components to. They normally dangle by their lens thread. But unless you’re using a large lens, that doesn’t have anything either. You need a camera mounting ring. This is a clamp that goes around the camera with threaded holes so can bolt other components to it. The camera mounting ring becomes the skeleton of your rig. It looks like one of these:
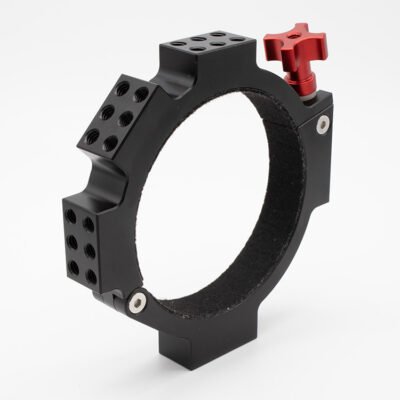

The ZWO version (the silver one above) only has one place to put components. If you want to bolt a minicomputer like a StellaVita, MeLE or ASIAir, you’ll need to find other places. Our own ring has additional mounting points, and these are both 1/4″ and M6 threads.
These rings come in a number of inside diameters, 78mm, 80mm or 90mm. Which one will depend on your camera, so check the list of cameras
Finder shoe bracket
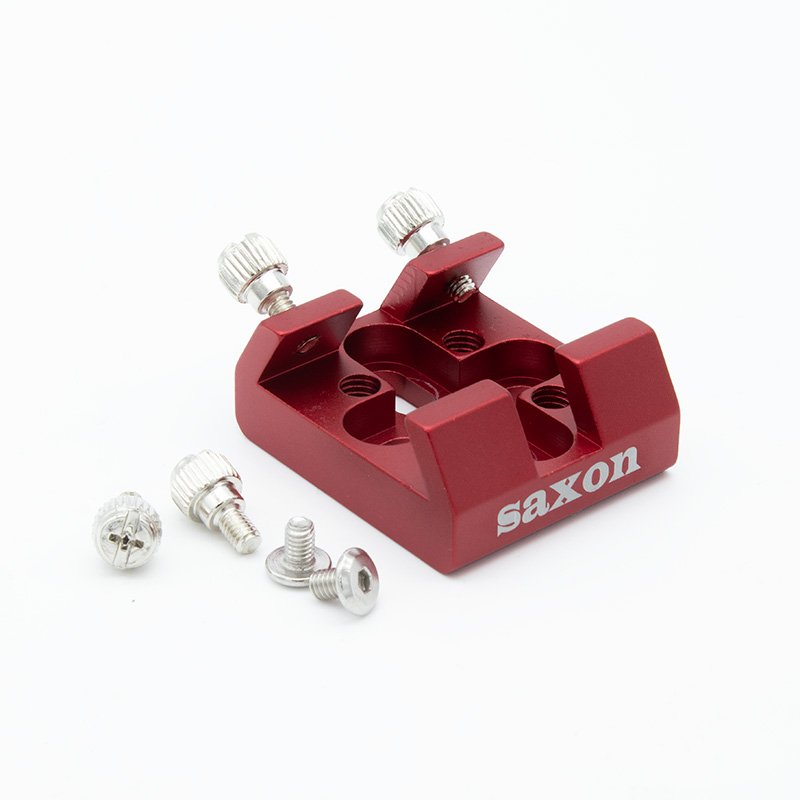
The guide camera comes with a mini dovetail that holds it all together. To bolt that (and its camera) firmly to the system. We’ll attach a small saddle to the top of the camera mounting ring. It looks like this:
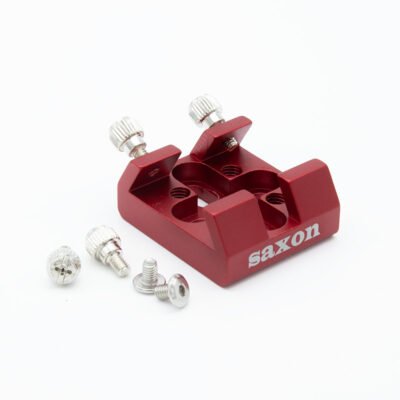
The saxon Finder Shoe Bracket has holes that fit the top of the camera mounting ring. We needed to provide short M6 cap head bolts. The thread spacing was fine because the finder shoe bracket has a small slot, allowing a range of hole spacing. Once in place, the finder shoe bracket allows us to clamp several different components firmly and securely to the ring, and our guide scope was no trouble at all.
Dovetail bar
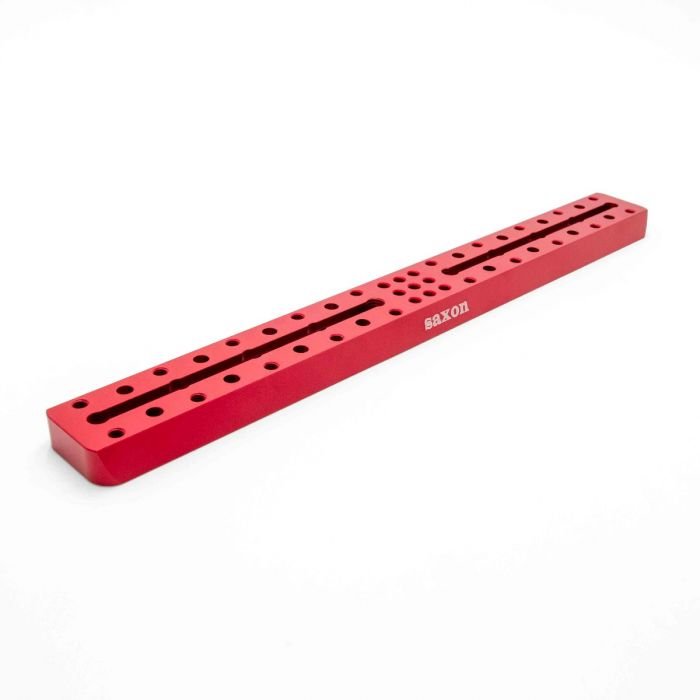
Finally, this whole assembly has to go on to your go-to mount. To do this you need a Vixen-style dovetail bar. As before, we had to try a few different options before finding one that fit the bolt holes on the camera mounting ring. The saxon Multipurpose Dovetail Mounting Plate is a possibly little longer than you will need, but its length makes it easy to balance your rig once installed on the mount.
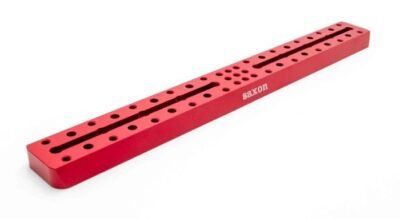
The blind holes we needed were pairs away from the middle of the bar, and we put M6 bolts from underneath the bar into the camera mounting ring.
The whole assembly
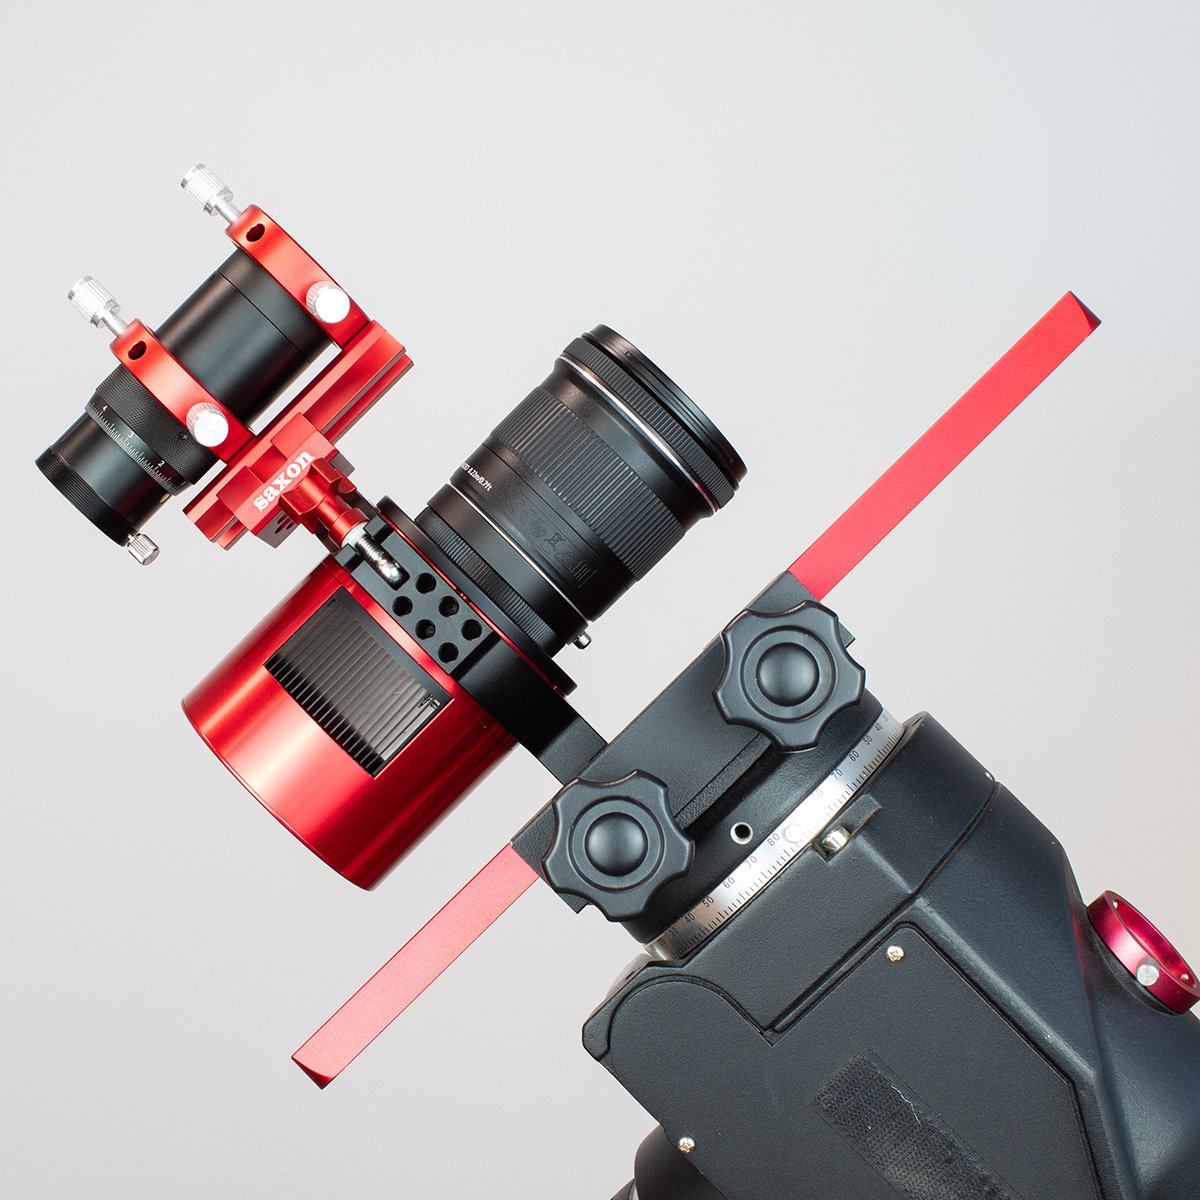
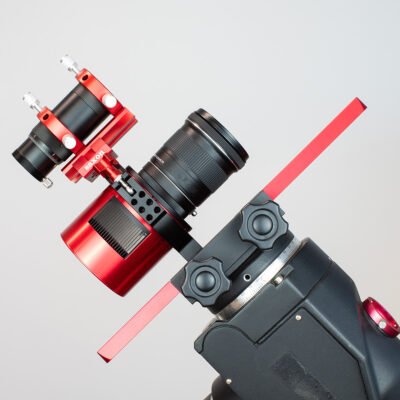
The final assembly included camera, lens, autoguider and dovetail all bolted together onto the camera mounting ring. It’s very red!
We mounted it onto a saxon AZEQ6 we have in the office to see what it would look like. Obviously, the mount was heavier than was necessary, as the whole thing weighs about 1.8kg (plus the lens, of course). This means the rig can go on a standard camera tracker like a MSM Nomad, Sky-Watcher Star Adventurer 2i, or iOptron HST Minitracker, as well as any go-to equatorial mount.
Conclusion
We put together a deep-sky, cooled camera and lens rig for wide-field autoguided imaging, selecting components that fit together without having to drill new holes. This will give us long exposures at long focal lengths, while also providing extra mounting points for autofocus motors, computers, or other components.
The main parts we used were:
Obviously, you have to add your own camera and lens!