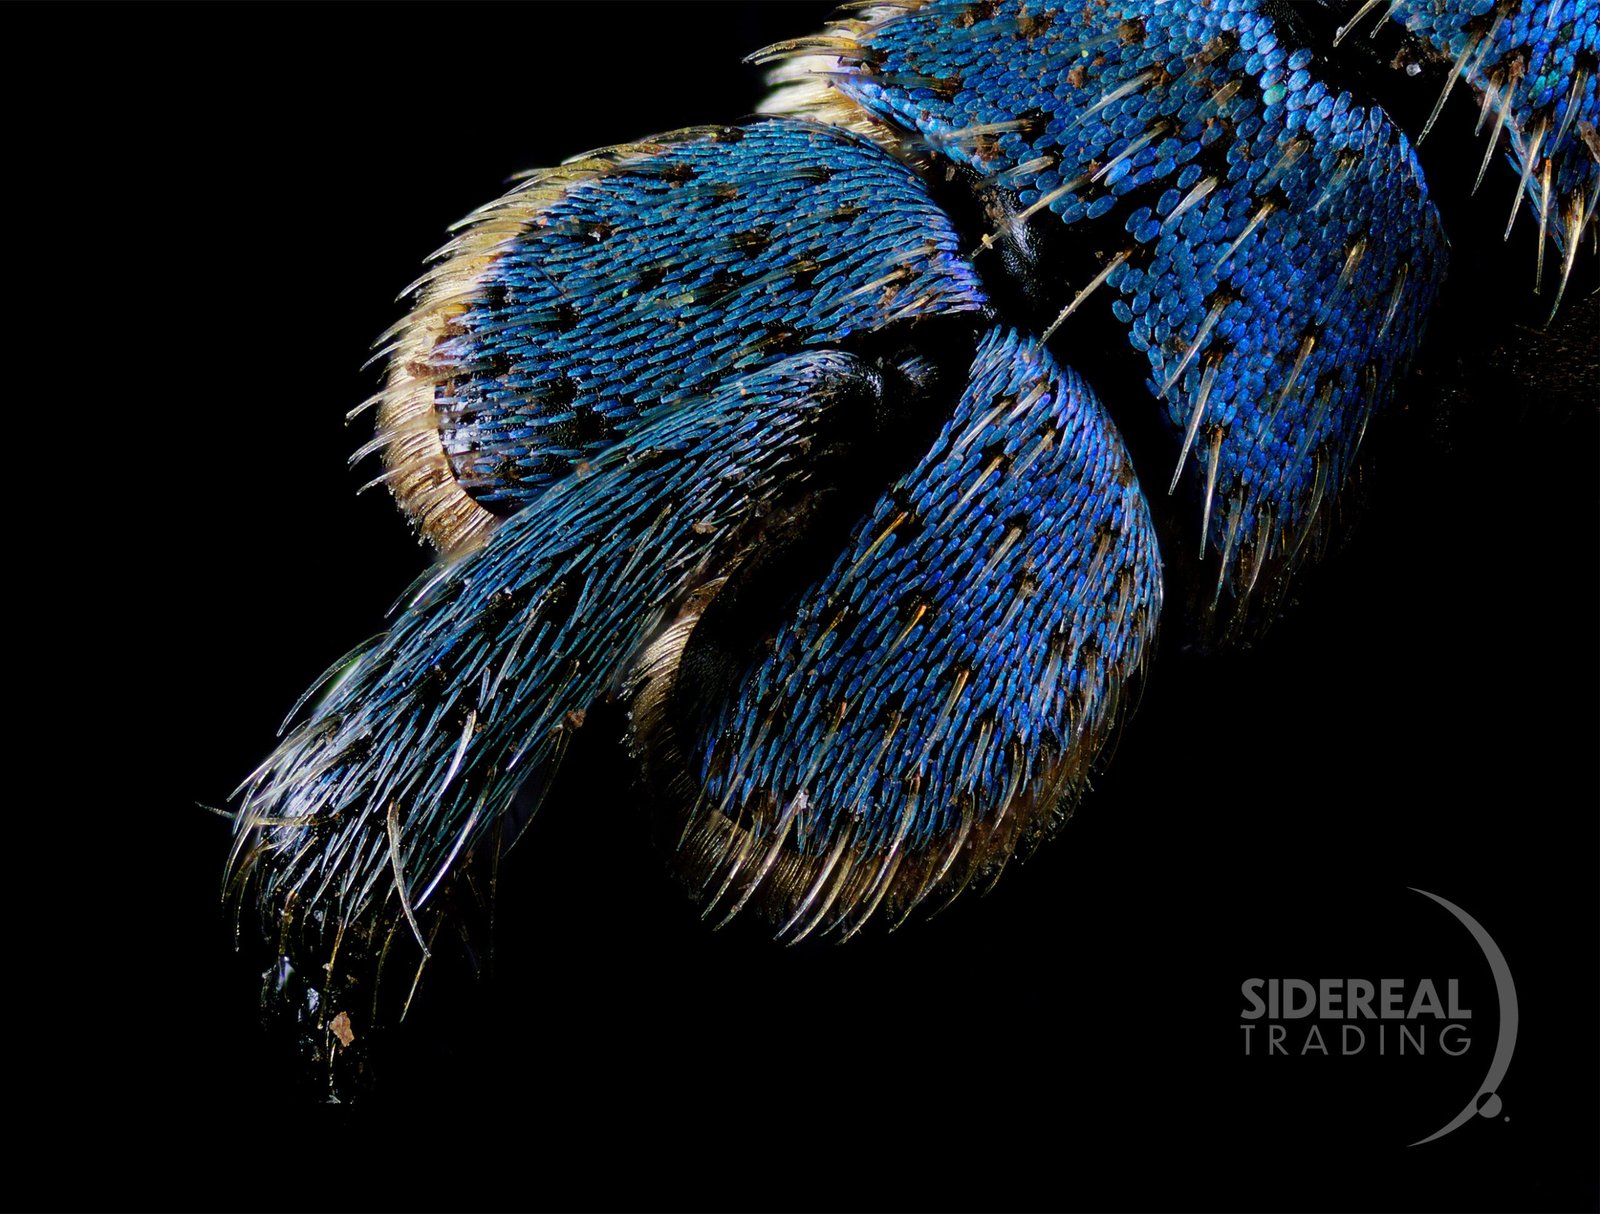
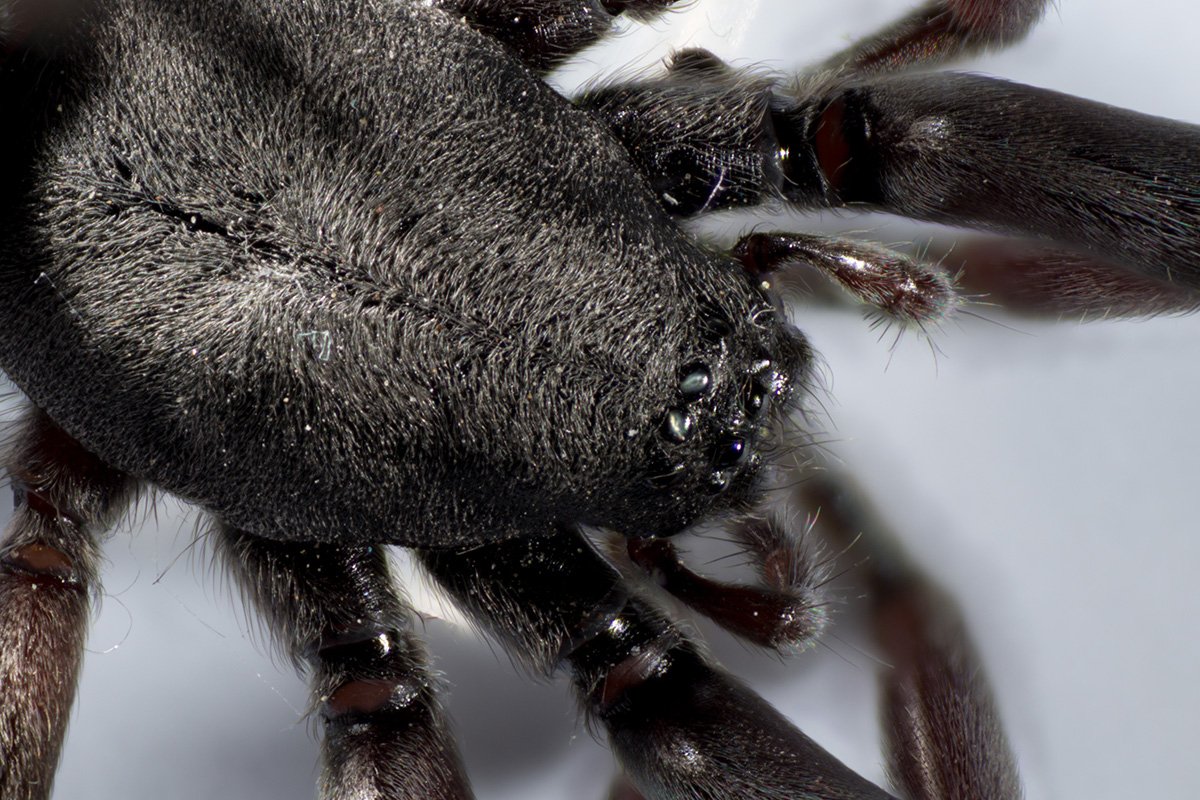
You’ve probably seen focus-stacked macrophotographic images before. We’ve published quite a few in the past, taken with our WeMacro Rail setup. Here’s one we prepared earlier.
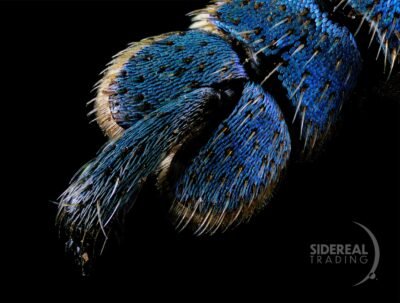
Why stack for focus?
Macro lenses, especially microscope objectives, have very tight depth of focus. You need to take a series of images called subframes, each a slightly different distance from the subject.
The WeMacro automates this all. First, you find the end point where the subject is just out of focus because the camera is too close. Next, run the camera back up the rail. You’ll see different parts of the subject come in, then go out of focus. When the last part of the subject loses focus, you’re at the start point for the run. During the run, the camera fires, moves forward a smidge, fires again and so on until it reaches the end point.
To process the images into one, your computer selects the in-focus parts of each subframe and puts these together like a jigsaw. There’s a few software packages thad\t do this: we use Helicon Focus.
But there are challenges
Lighting your subject
Lighting macro images has always been a challenge. You need lots of light on such a tiny subject, so flashes are pretty much compulsory. But the light from flashes, even multiple flashes, is so harsh and direct that the image is normally affected by deep shadowing. That is, the nooks and crannies of your subject, be it an insect, flower or even a coin can be so dark that you can’t show the detail.
We’ve spent hours finding ways to soften the light, including building paper diffusers for the flashes, and making complex-shaped reflection walls from aluminium foil.
Working in a cramped space
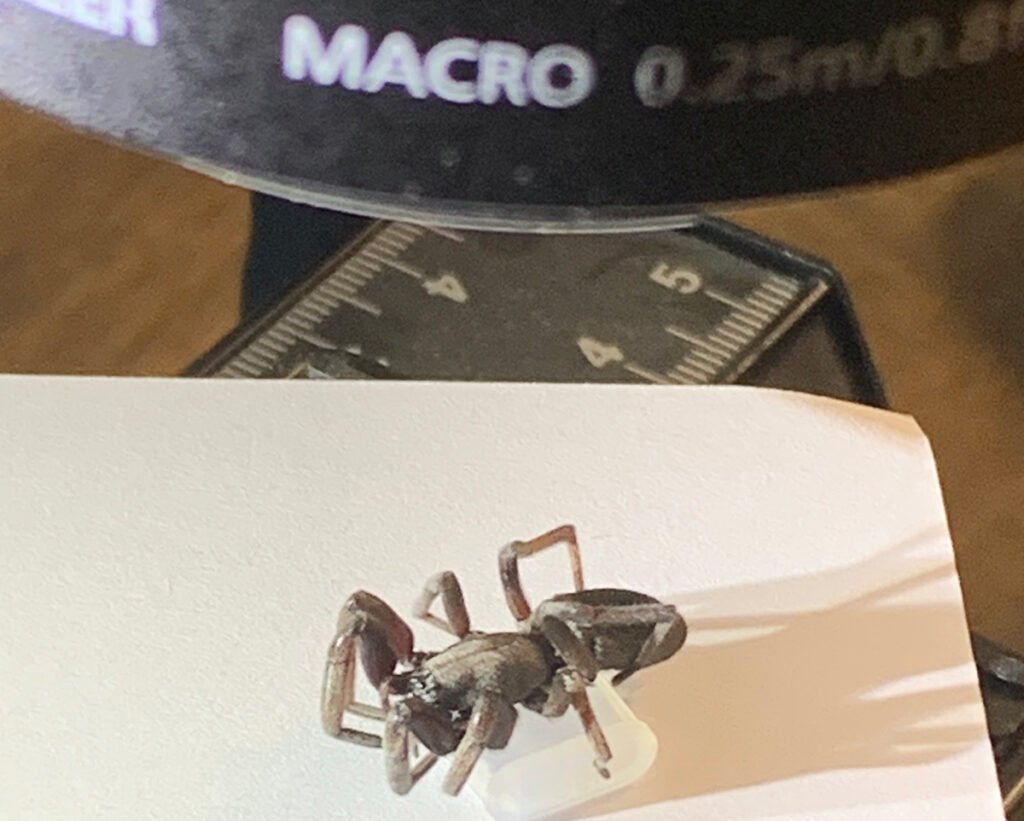
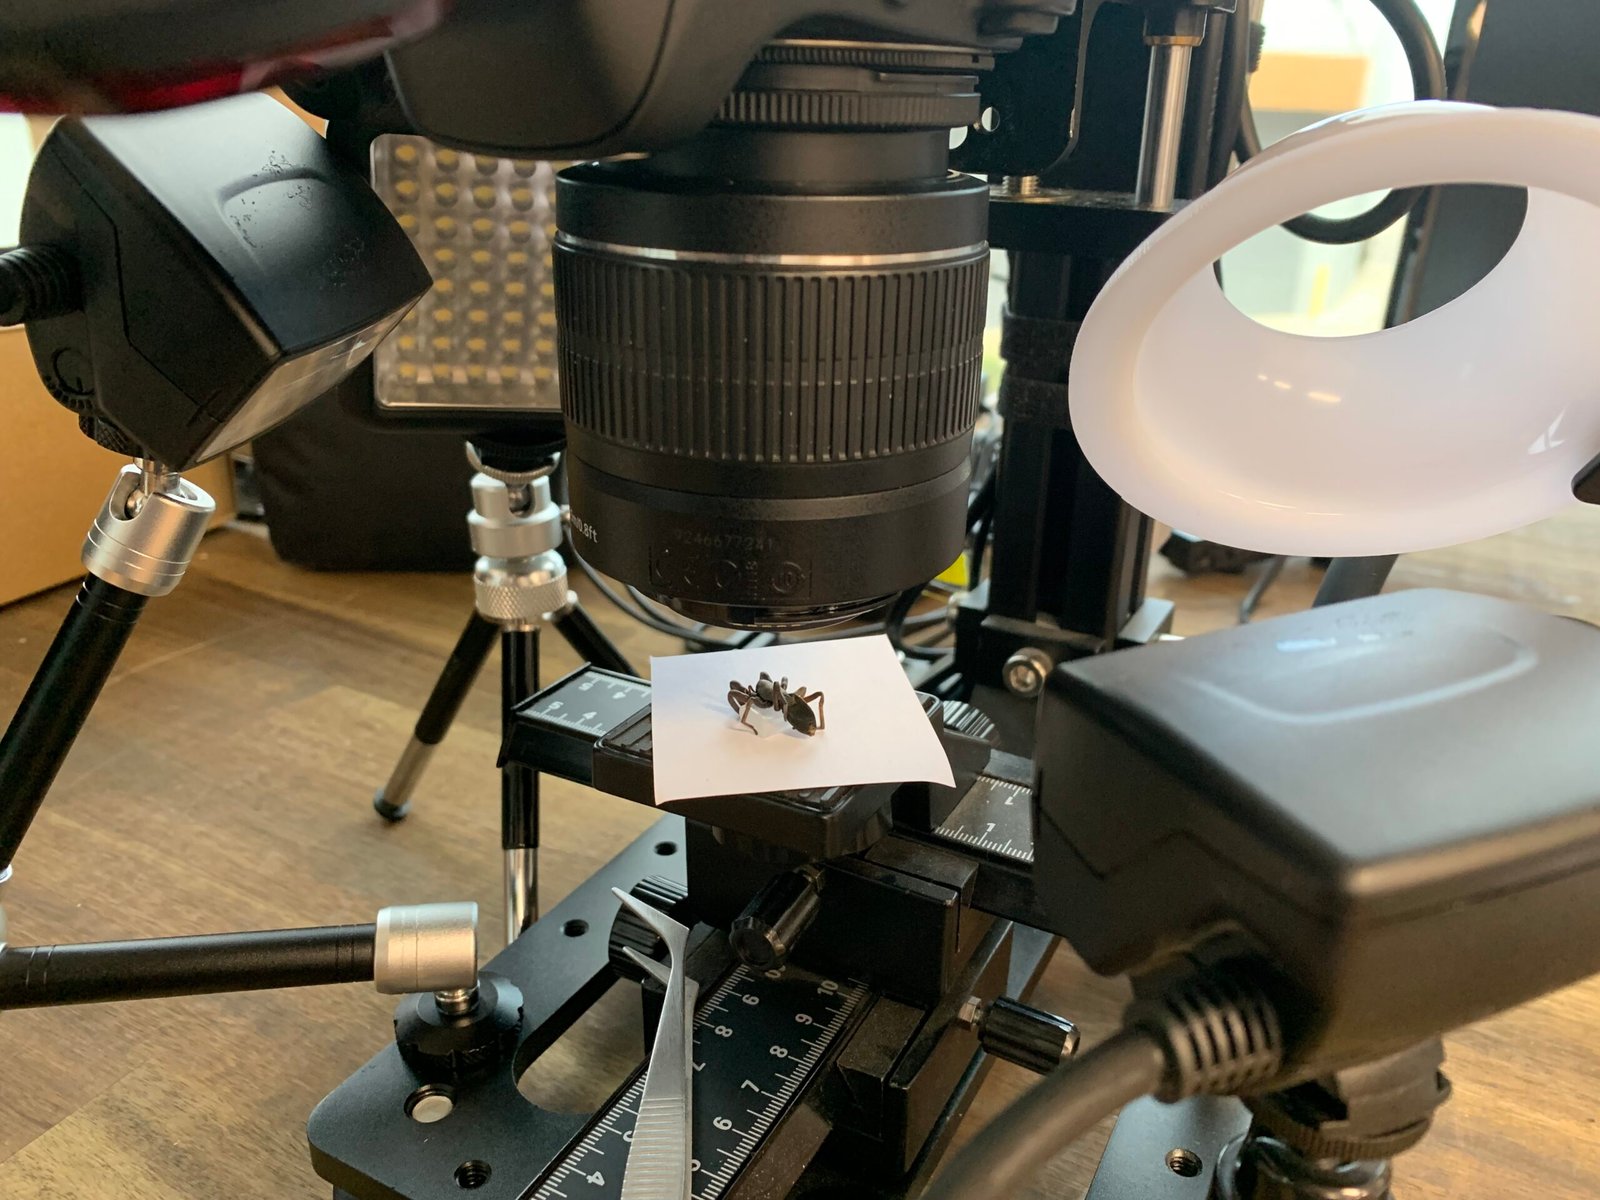
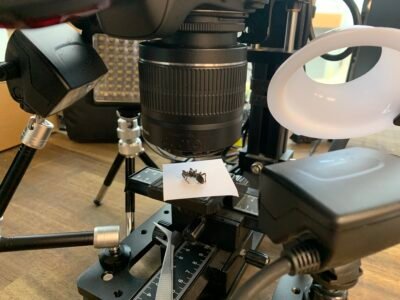
The studio for macrophotography is often a very confined space, because the subjects are tiny. Here, it’s not much bigger than a ping-pong ball. Because of this, things get very fiddly. You can see just how crowded it gets, with flashes, torches, cables and arms all over the place. Its very easy to brush a cable while adjusting the position of the subject, and this can knock over a flash, creating chaos.
Focusing in the dark
Posing your subject before the exposure sequence is just another problem. And after you have the subject where you want it, there’s more. You have to find those start and end points. Both of these involve carefully inspecting the camera’s perspective. Looking through the DSLR’s viewfinder is the best way, but it’s also the least convenient because you’ve got to get your whole head in there somewhere. Alternatively, if you use the camera’s live view it’s normally so dark you can’t see what’s in focus and what’s not. I’ve used a super bright Astro Night torch in the past, and this floods the subject so I can use the live view. This is a good, but awkward solution, because it means I have to do everything else one-handed, and that just adds to the fiddliness of the exercise.
So, what’s the solution?
It’s a dome, Jim, but not as we know it
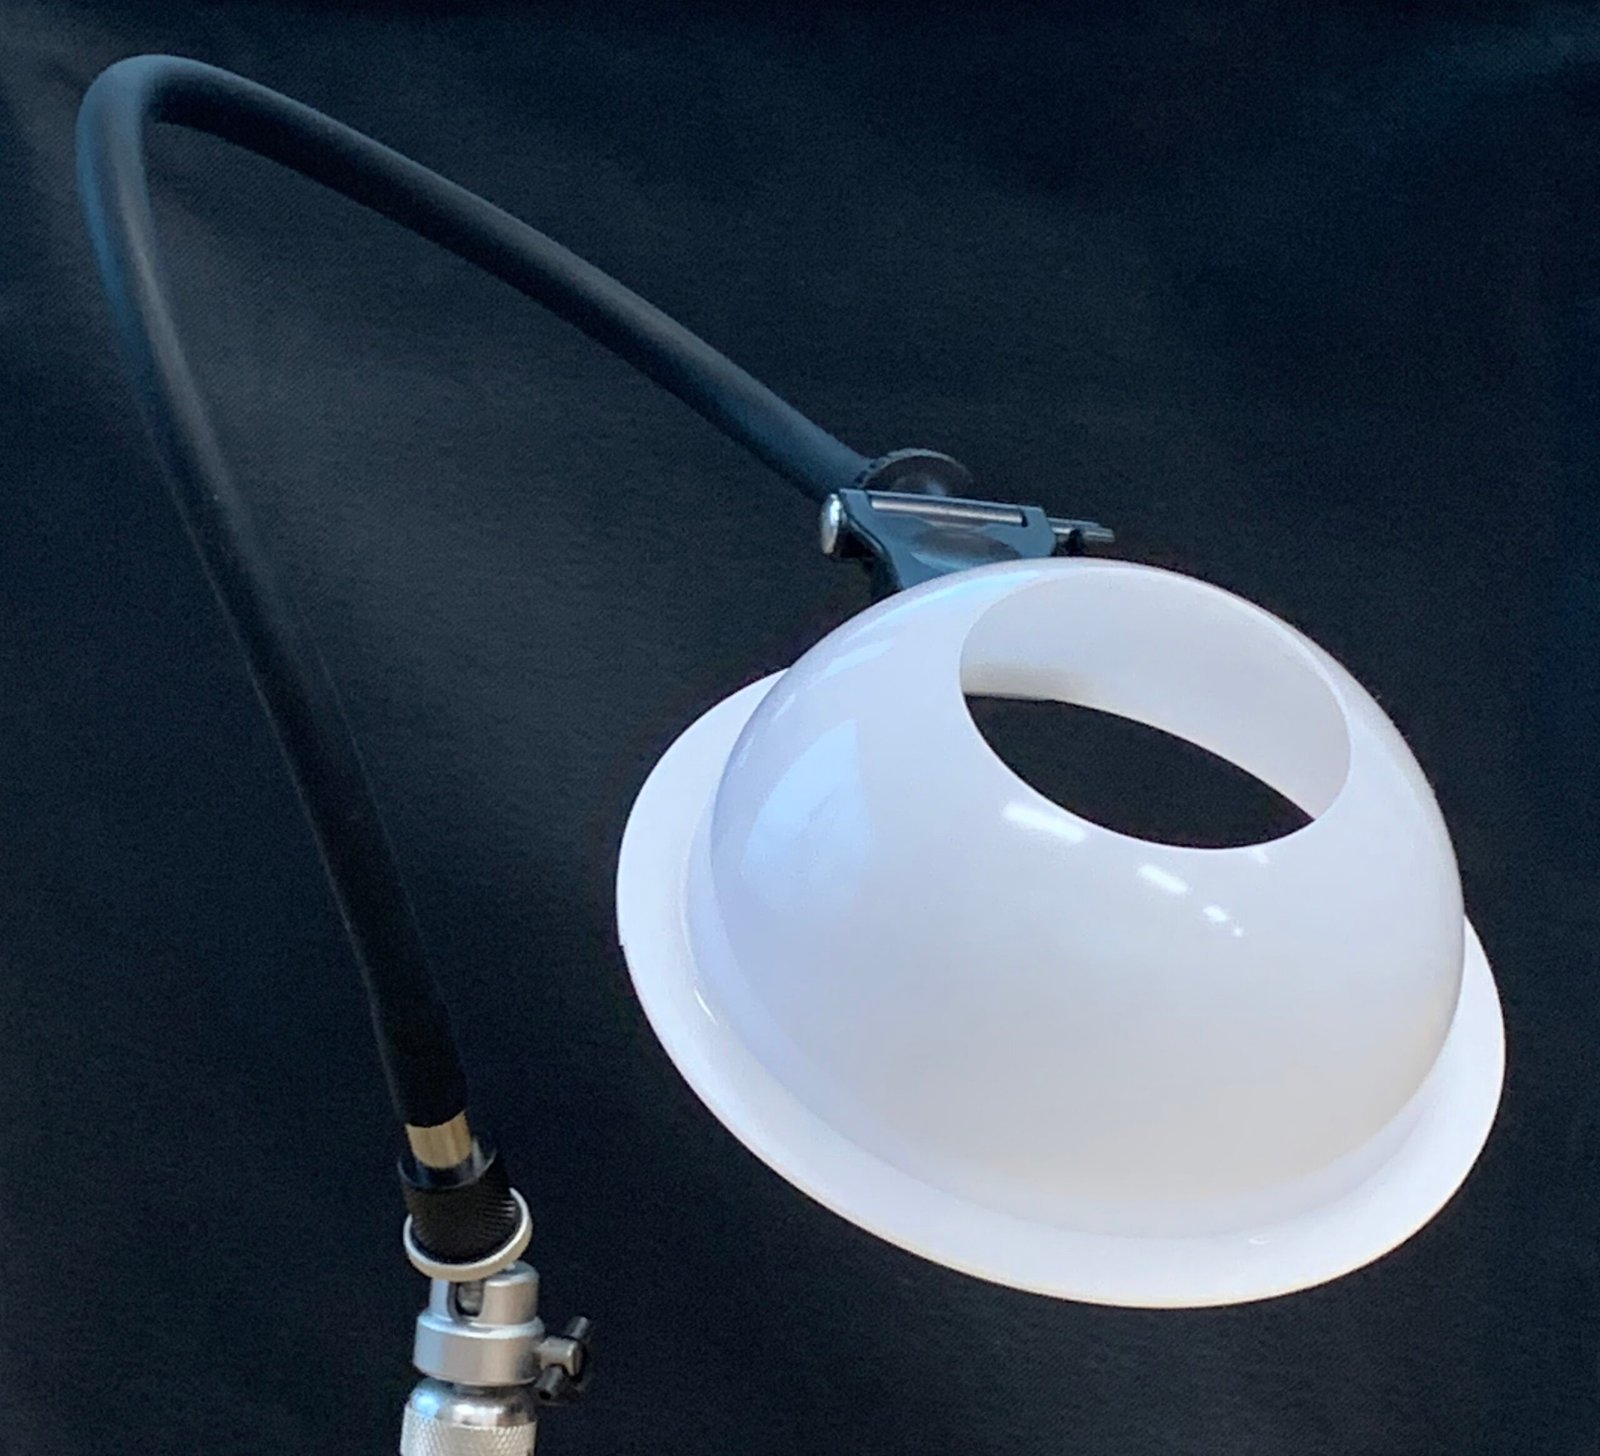
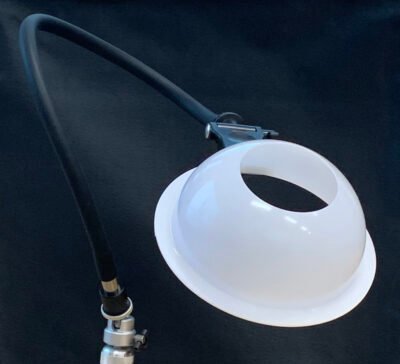
WeMacro has now come up with a dome-shaped diffuser that is made from translucent plastic. It looks like a bowler hat with a sunroof: very different to the astronomy domes we normally deal with. With your flash on the outside, the dome softens and scatters the light by surrounding the subject and flooding it from a far wider angle. Light comes from nearly everywhere. It attaches to the WeMacro vertical stand with a bendy arm. There’s a hole at the top of the dome that you shoot through. Here it is before we integrated it into the setup.
And an extra setup light
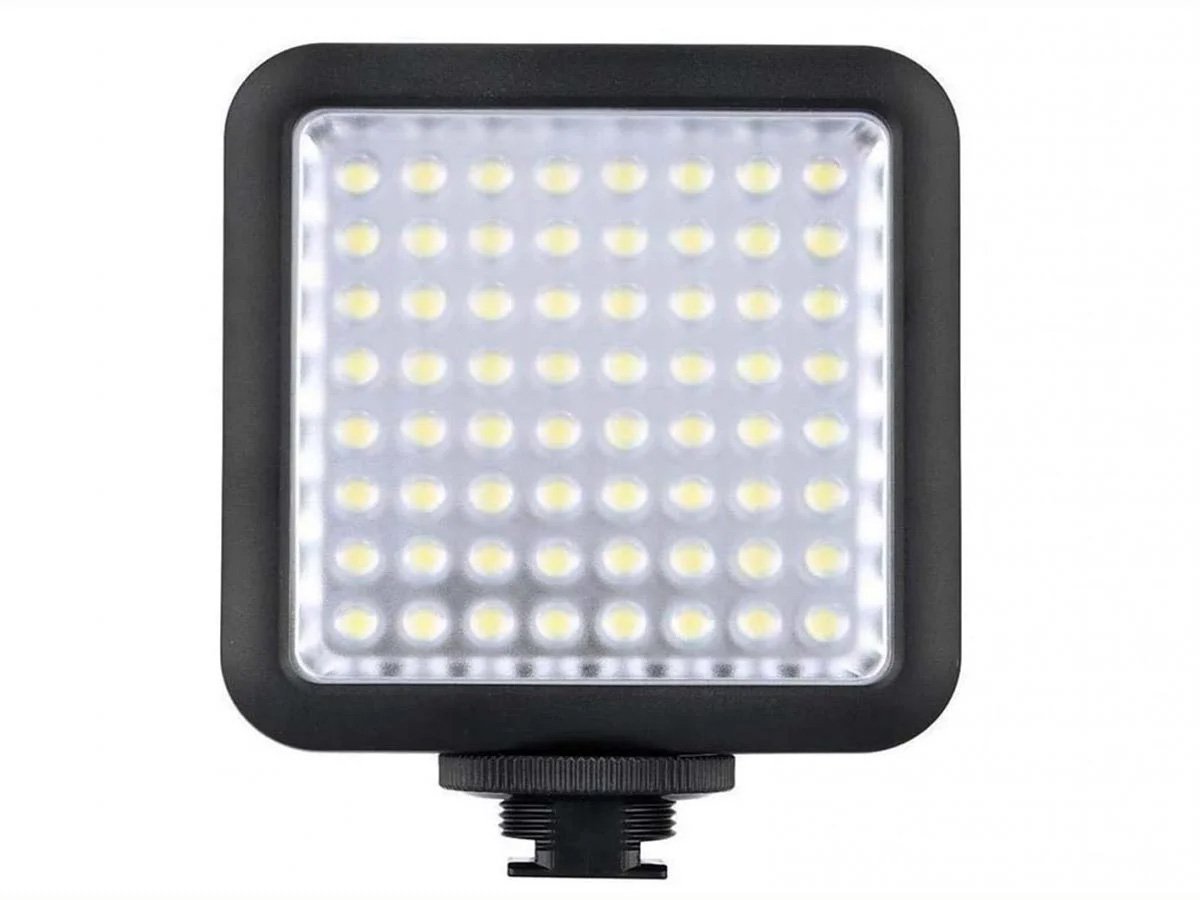
At the same time, WeMacro has also started shipping a battery-powered Godox LED panel. You can use this as a working light while arranging the subject for the camera and finding the start and end points for your focus run.
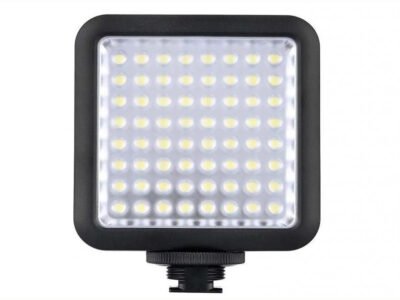
When you have this, you can use the live view on your camera to check the focus and pose the subject in real time. The panel can be attached to the vertical stand using an adjustable arm that you can fix into place. This helps dramatically with the fiddliness aspect. We also found that this arm can hold a flash in place as it has a 1/4″ thread at the end, matching our slave flashes.
But there’s no such thing as a panacea
It’s not going to be perfect for every situation, of course. Our first test subject was a drop of water on a leaf we picked in the car park. Not only did we find that the drop didn’t make an interesting focus-stacking subject, but it also reflected the empty space at the top of the diffuser. Basically, we saw the front of our reversed macro lens reflected in the drop. Lesson learned. Tangentially, I’m not sure how I’d actually get this photo – if anyone has the solution, I’d be glad to hear about it.
And the results?
The point of the test was to get a pair of comparable images, using the undiffused flash and the diffusing dome.
Without the dome
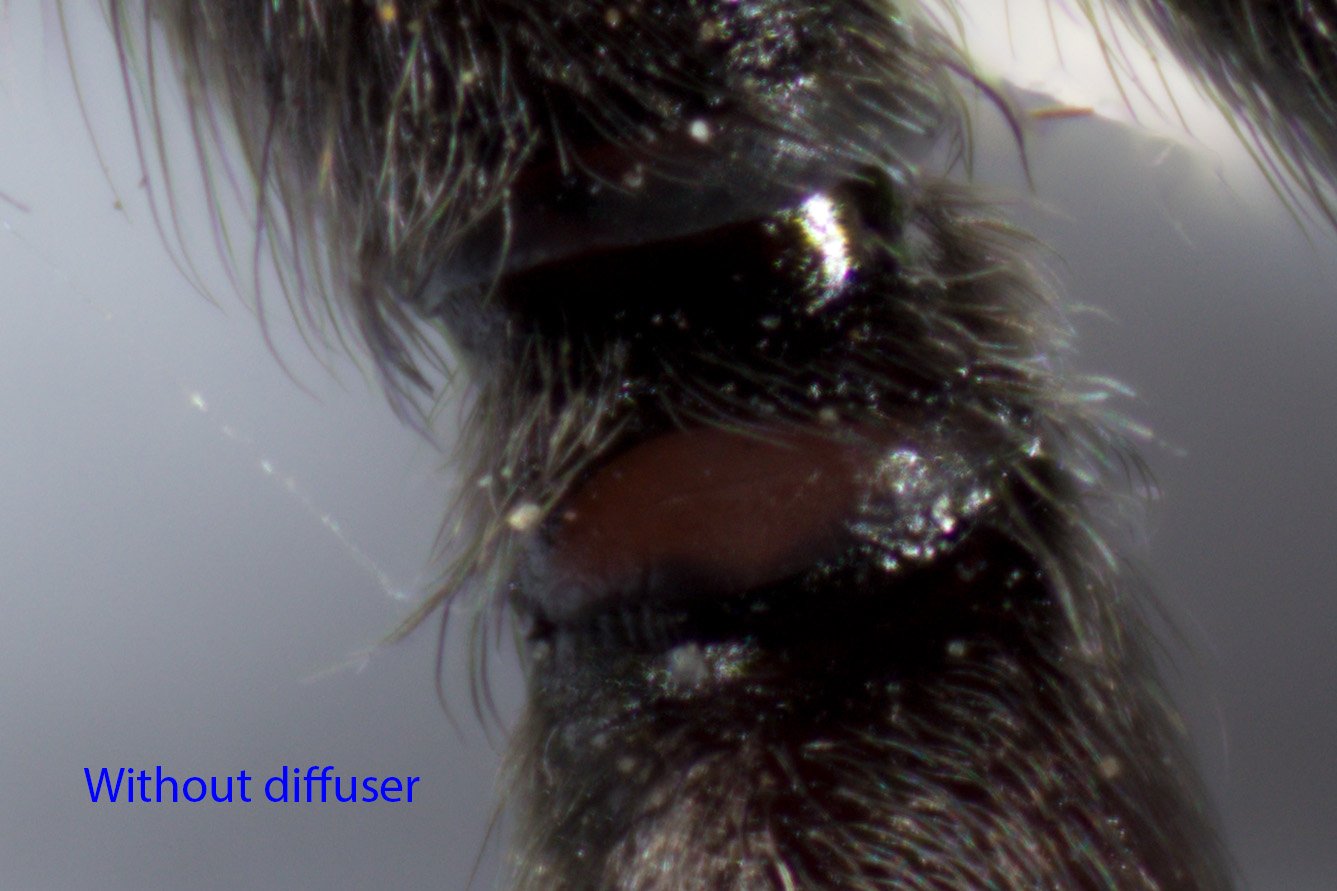
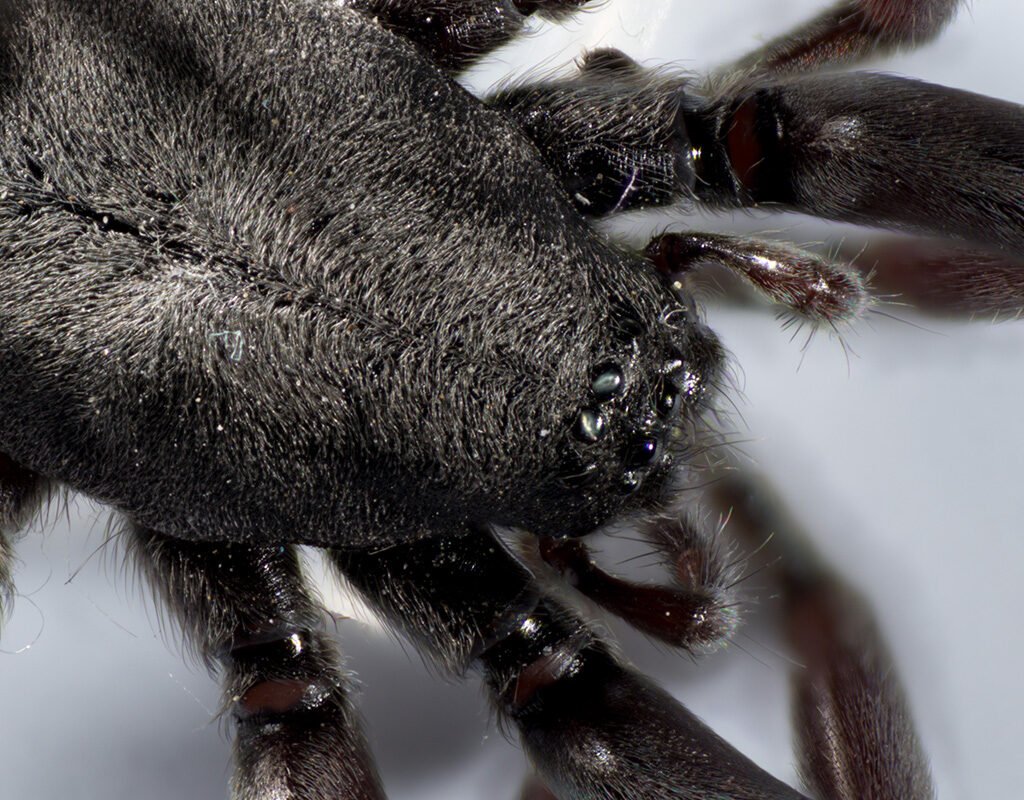
Here is the undiffused image. You can see the two issues – the deep shadowing in the spider’s knees as well as the blown-out highlights on her shinier parts. It’s not all bad, the shadowing can be processed to bring up the darker areas, but this would affect the overall contrast. The blown-out highlights are a dead loss though.
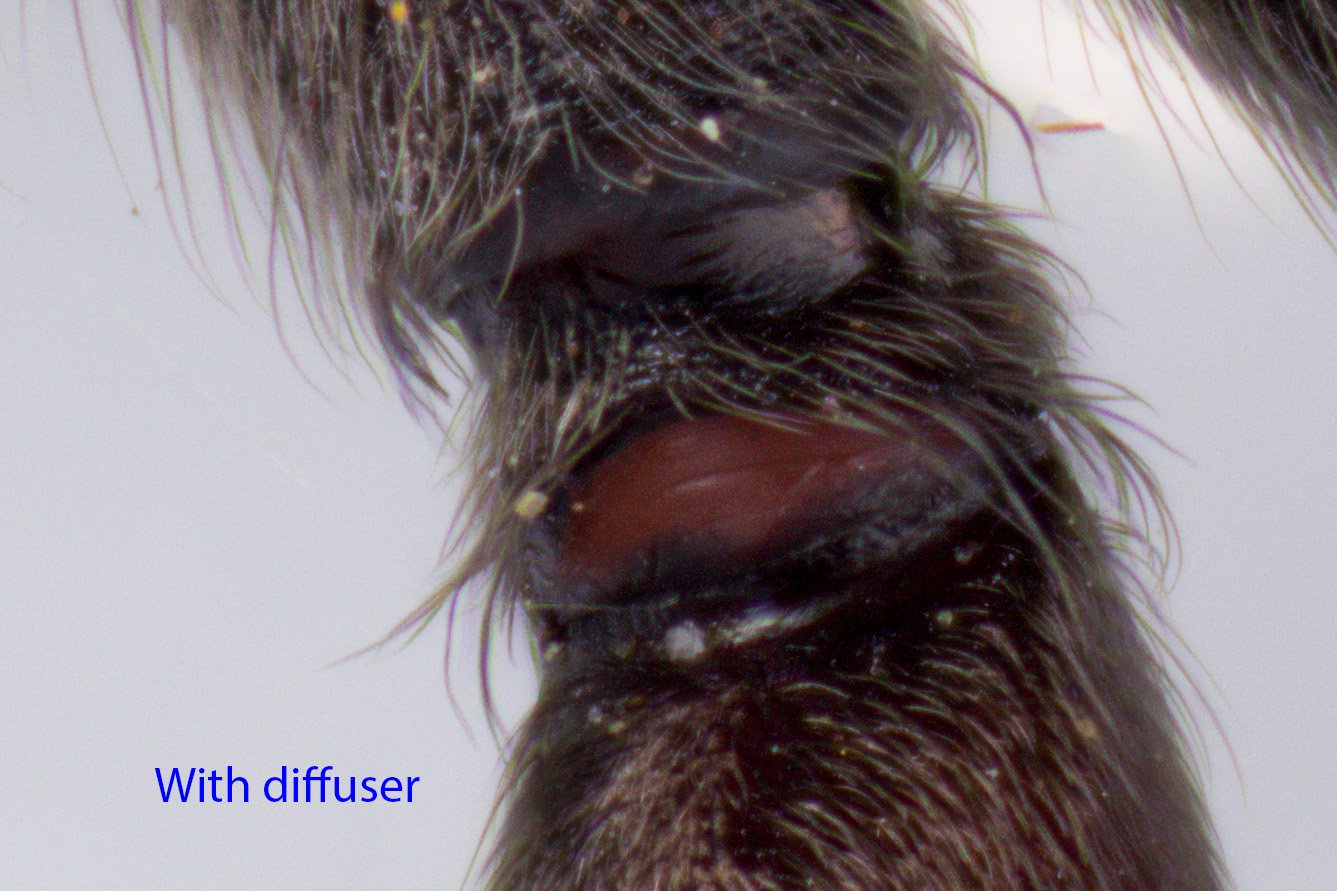
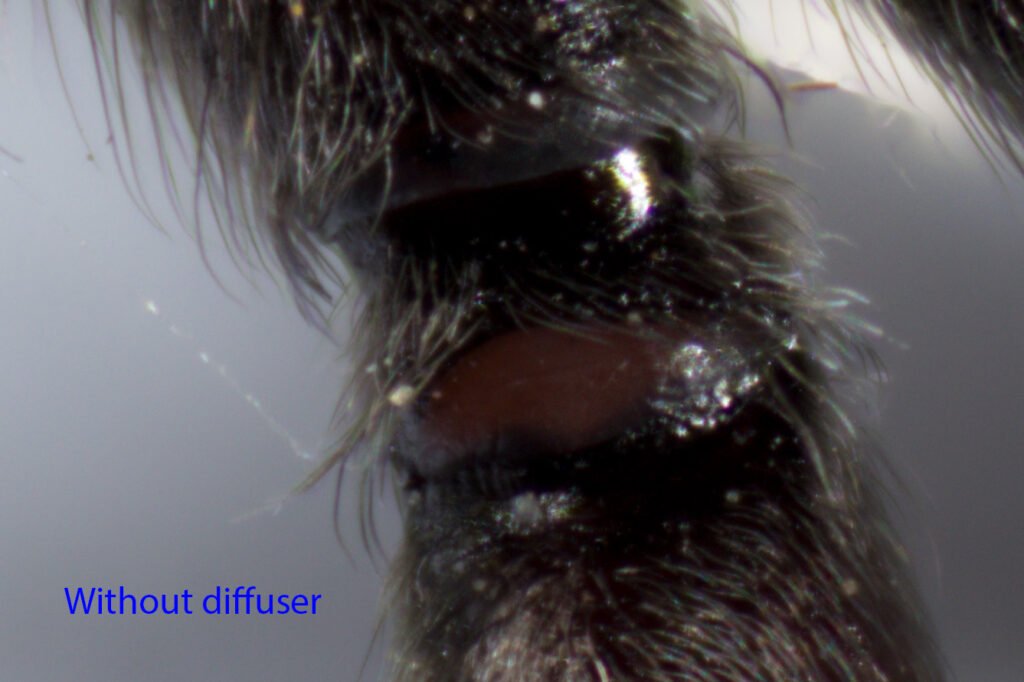
And here’s a closer image of the spider’s knee (if it’s called that – some entomologist will correct me), and you can see both issues in detail.
With the dome
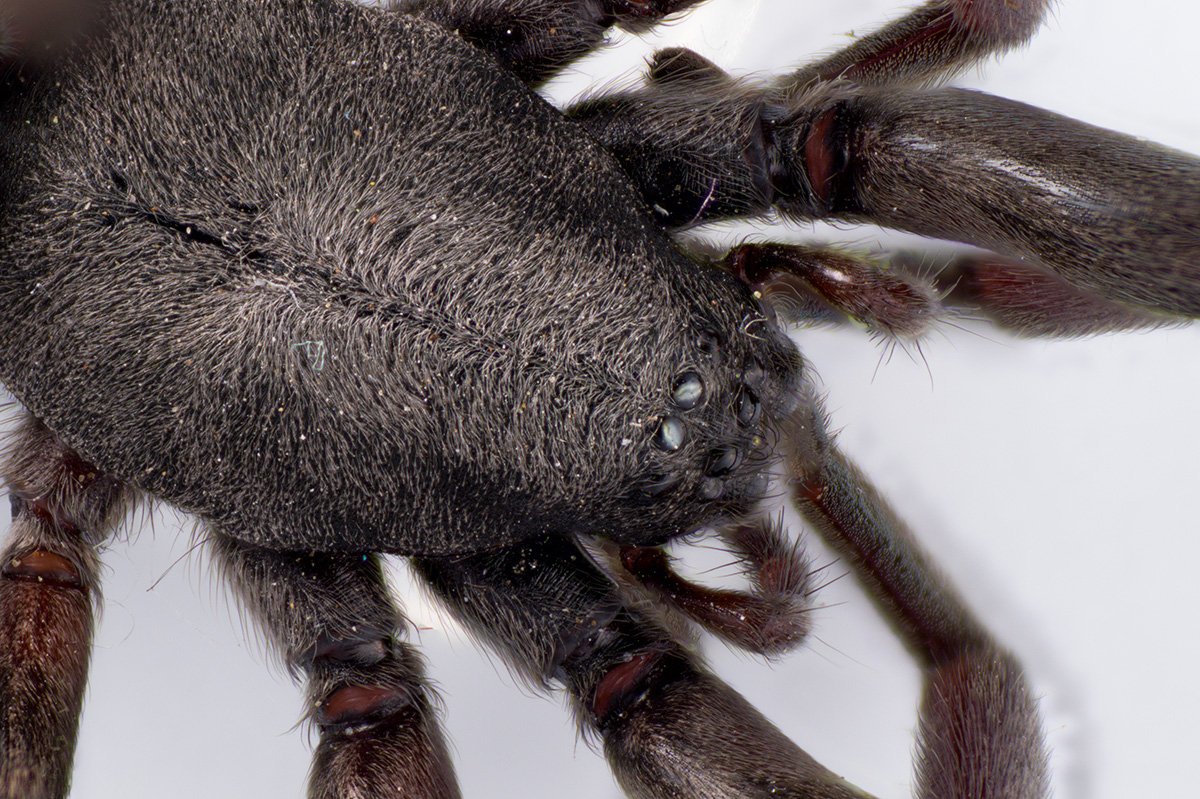
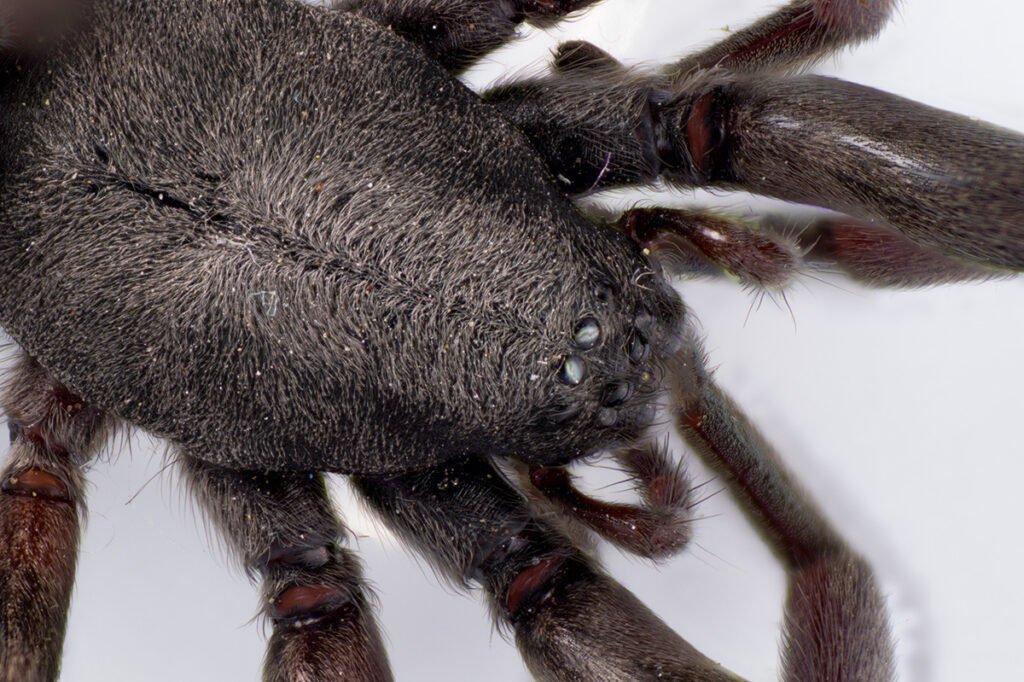
Compare the diffused image. Overall, the lighting is much more even, which is the main point of the exercise. You can easily see further into the shadowed areas. The highlights are largely gone as well. Aesthetically, this does make the eyes and other shiny areas appear less dramatic, but if you’re studying the species that’s less important. If you really wanted the dramatic effect of the eye highlights you could arrange the lighting to suit, possibly by setting a spot on the front of the spider.
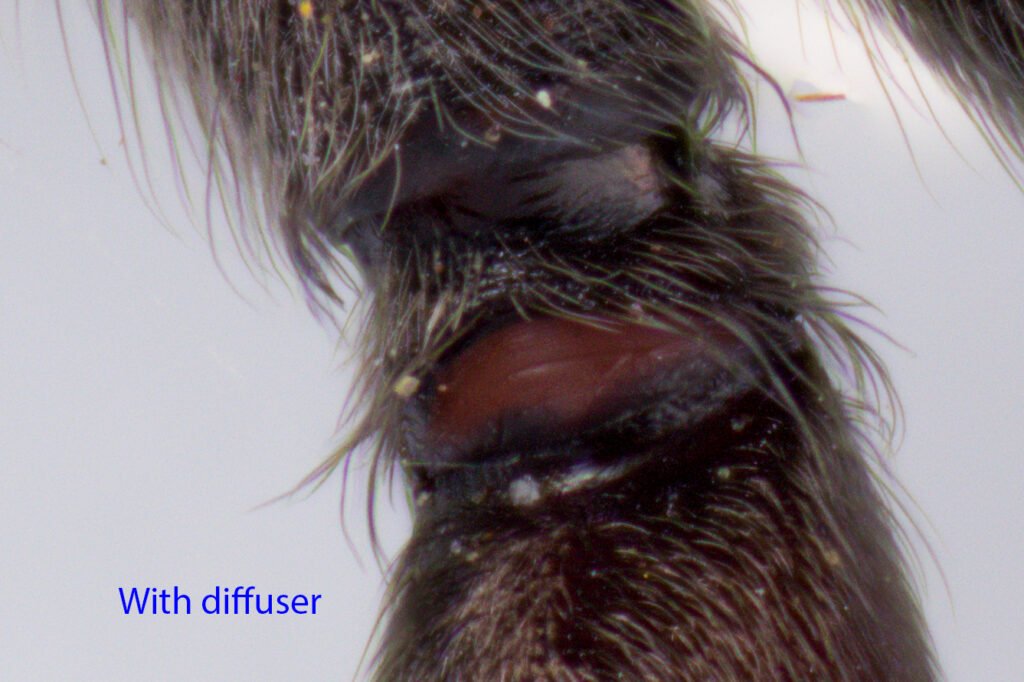
The close-up image shows much better detail. You can see, for example, that hairs cover and protect the exposed knee joint. These didn’t show up well in the undiffused image.
The parts we used
The guts of the WeMacro system is the rail itself. This is simply the stepper motor, its slider and controller. You connect to and drive it with a computer, or as we did, a phone.
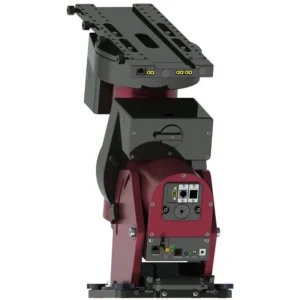
The WeMacro Rail sits on a vertical stand with a moving stage. This suspends the rail and attached camera above the subject, meaning we were looking down on the spider. For a more dramatic image you can get a combination vertical and horizontal stand. This would have allowed us to look into the spider’s eyes.
The diffusing domes come with four in a pack, two large and two small. This means you can light different sized subjects. The pairs of domes are either nearly transparent or heavily translucent, and this provides options for light scattering. It also comes with a bendy arm that attaches to the vertical stand and holds the dome in place.
The articulated arm for the working light is an 11-inch jointed arm that has a standard 1.4″ thread at both ends. The twist-lock at the joint locks not only the angle, but also both ball-heads ends, meaning the whole arm becomes rigid.
The working LED panel is designed to be used on the arms, or a small tripod with a 1/4″ threaded bolt.
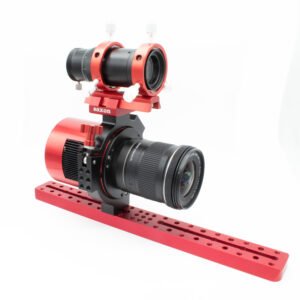
We used a few objective lenses, but ended up with a plain Canon kit lens on a reversing ring so we were looking through the lens backwards. This is a convenient way of getting a very effective macro lens.
Finally
We feel that we should point out that our subject died an entirely natural death. We found her on the floor in the shop and thought she would make a good subject. Expert macrophotographers arrange their subjects’ legs, clean dust off the fur, and other niceties, but we… didn’t.