A Premium SeeStar Wedge Solution for Equatorial Mode
Bill Stent
The ZWO SeeStar – revolutionising astrophotography
The ZWO SeeStar has become a very popular gadget indeed. It’s producing, even for rank beginners, images of the sky that they’d never considered were possible.
More recently, two developments have increased the demand for these even further.
Pro versions
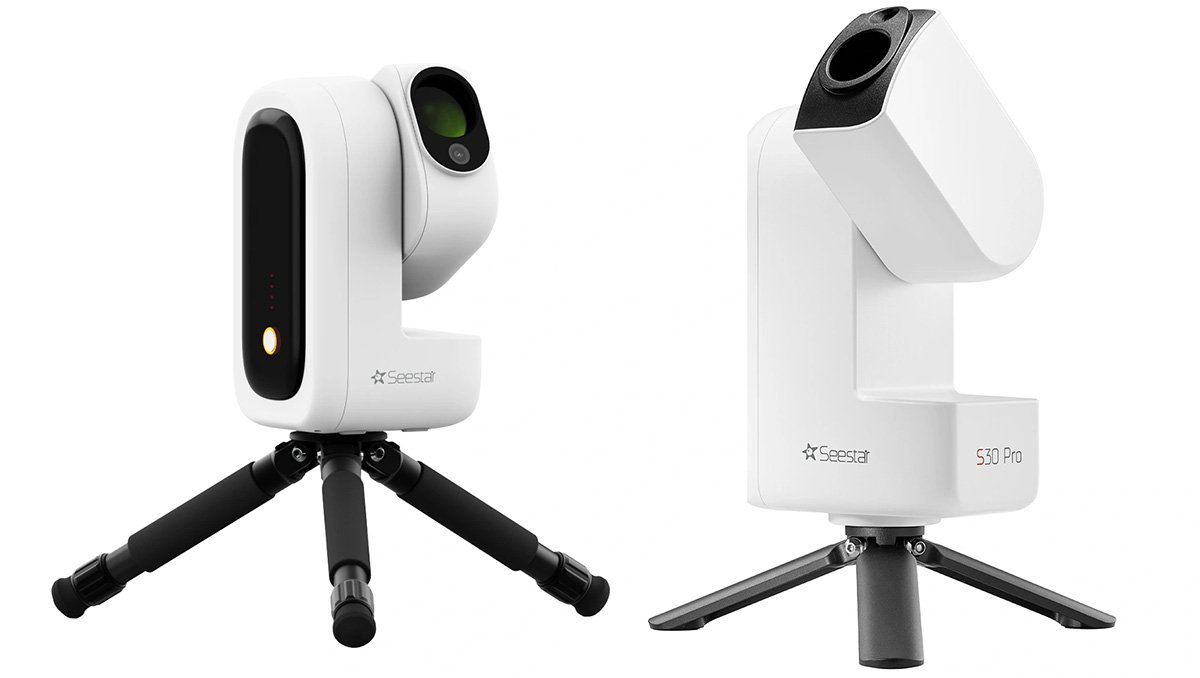
First, ZWO have released the Pro version of the SeeStar S50. The S50P is a larger instrument with a 50mm objective lens, compared to the 30mm on its little brother. As a result, the whole unit is larger and heavier. Think of a large shoe box.
With equatorial mode
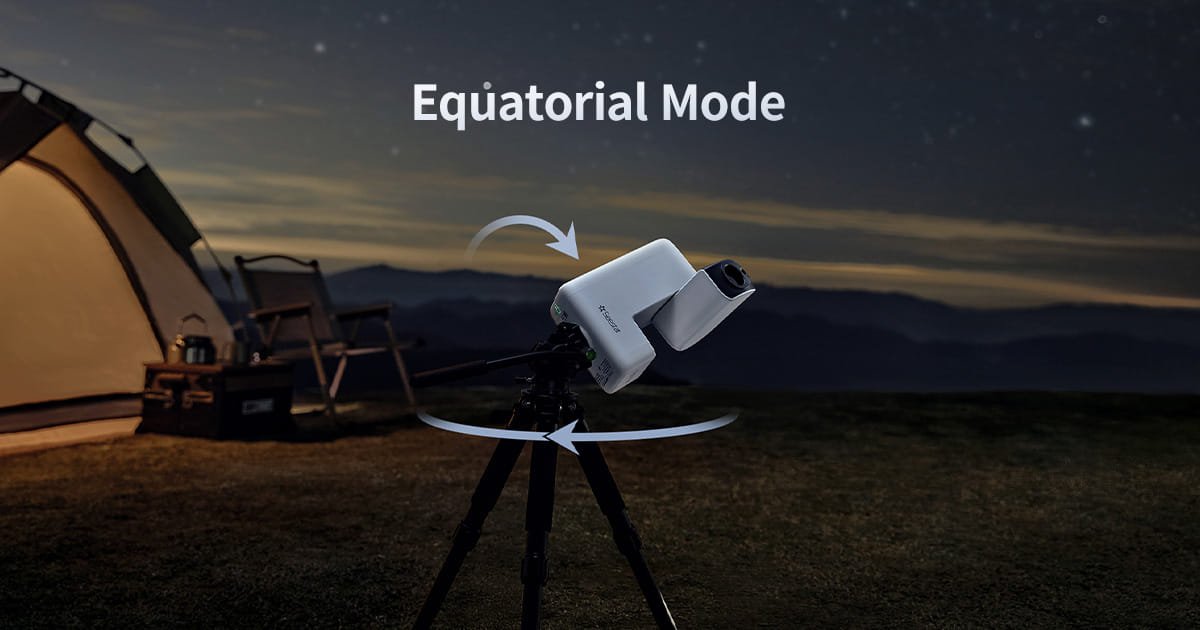
Second, SeeStars can now be set for equatorial mode. This means they can achieve much longer exposure times, as the normal alt-azimuth setup suffers from image rotation, which limits you to around 15 second exposures. The longer exposure times mean the images you get are deeper, reaching into the dark and drawing out more detail from those faint fuzzies. The images are, speaking as an old astrophotographer, astonishing.
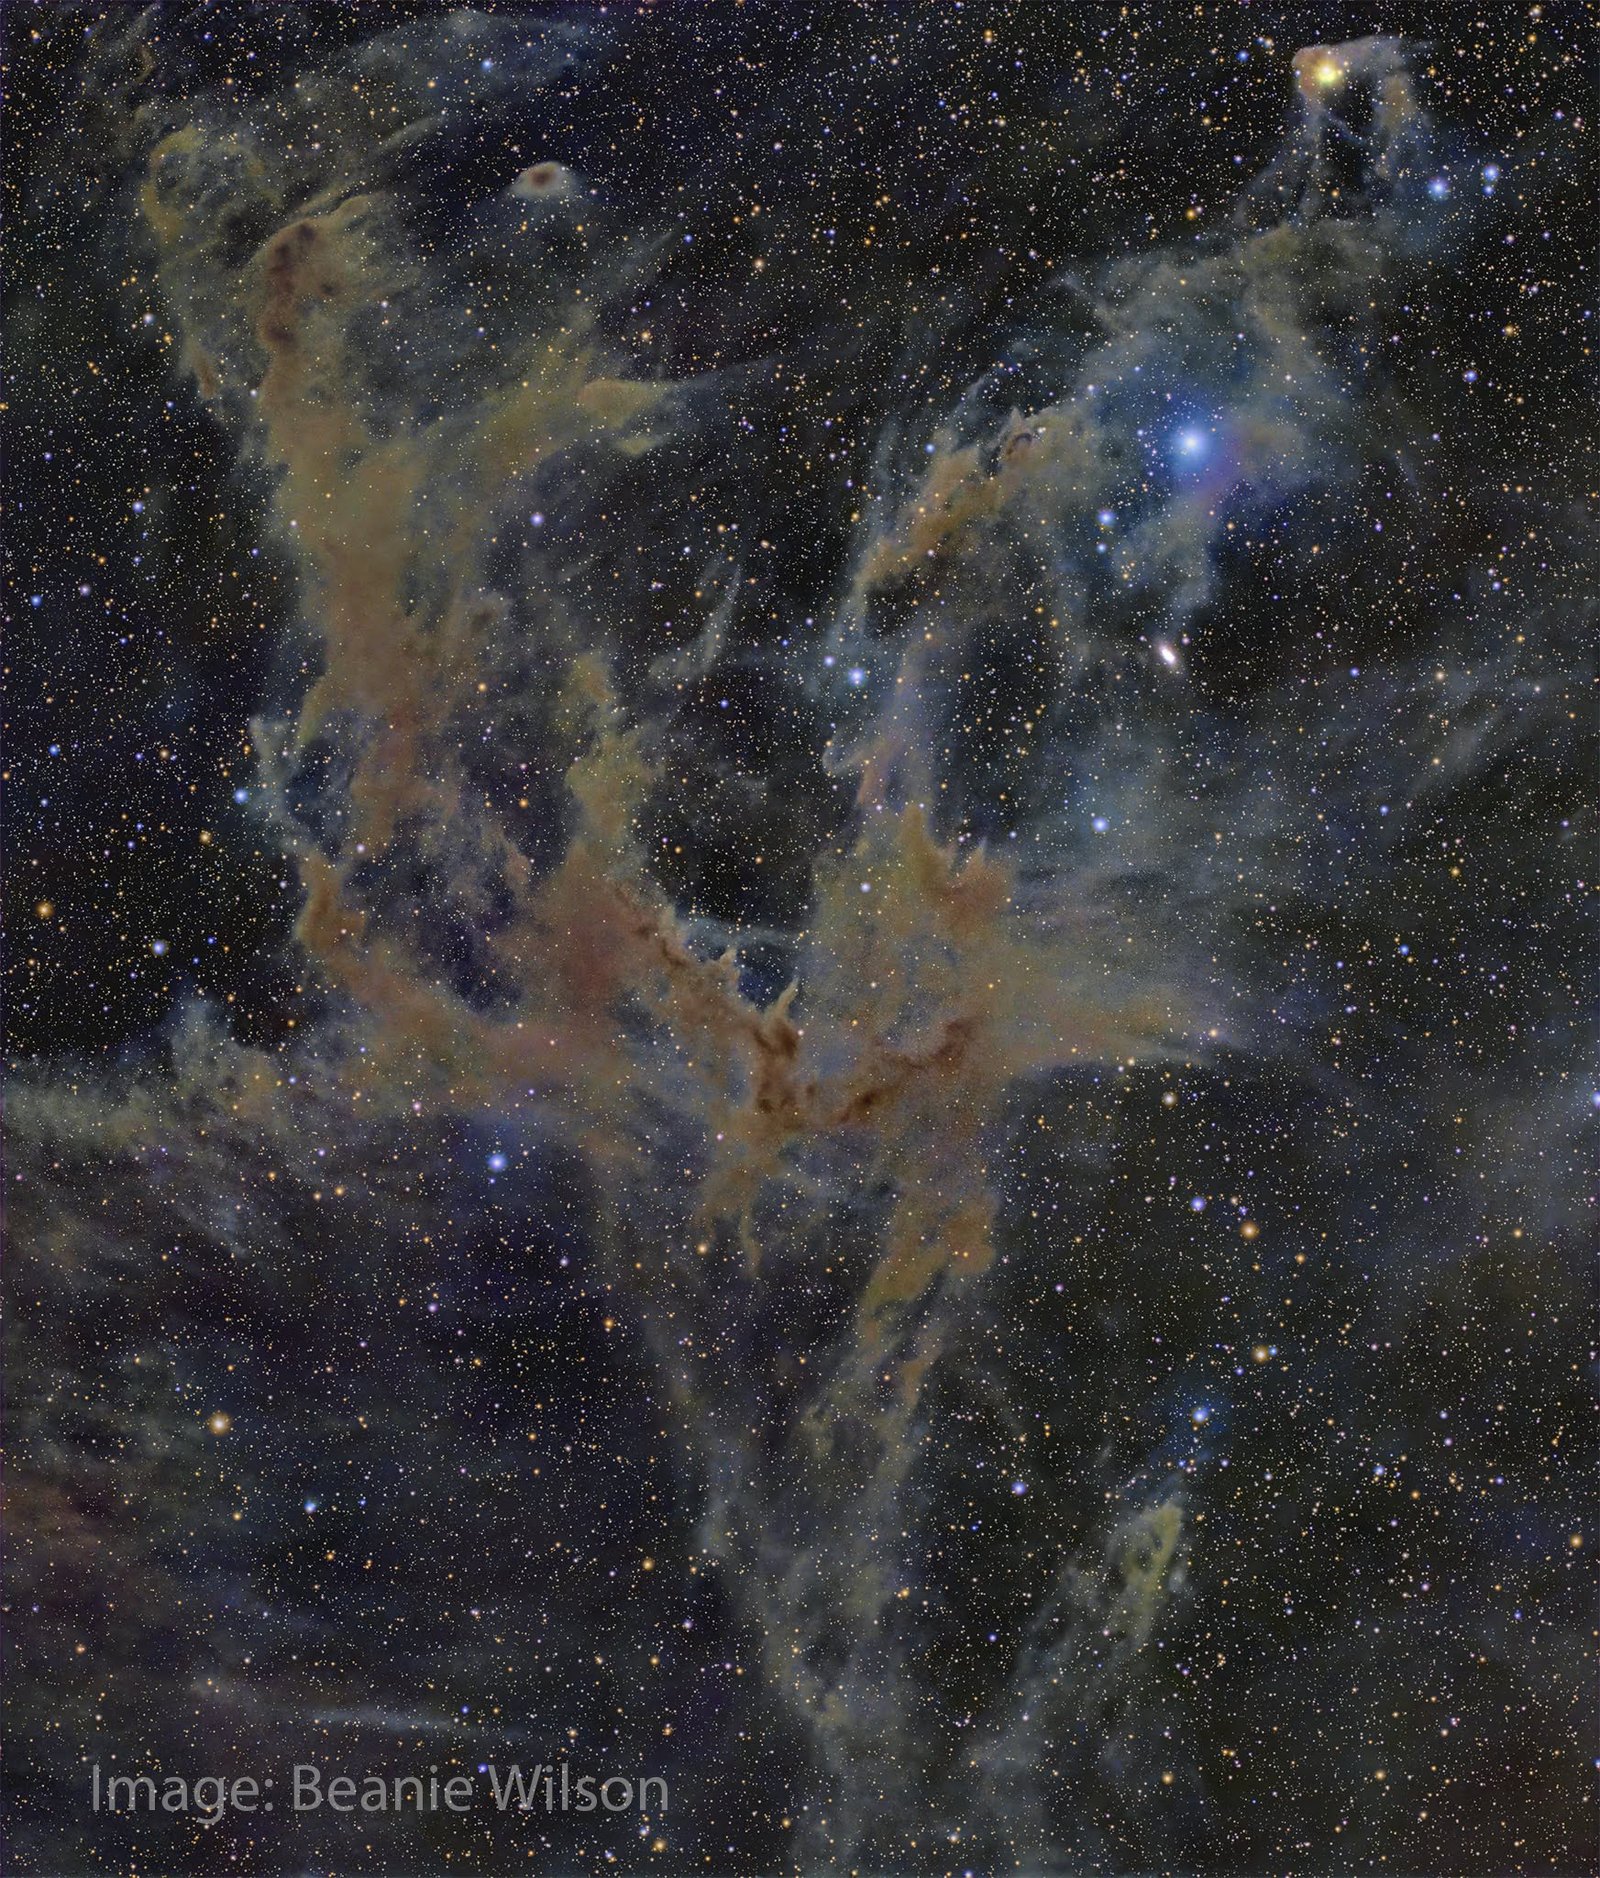
Check out this one:
Venom Nebula with SeeStar S30P. Image: Beanie Wilson.
But actually getting it into EQ mode…?
Getting the SeeStar into equatorial mode involves tilting it down so the top of the SeeStar very accurately faces the South Celestial Pole. Once you’ve got it there, the start position for the SeeStar is with the power button at the top.
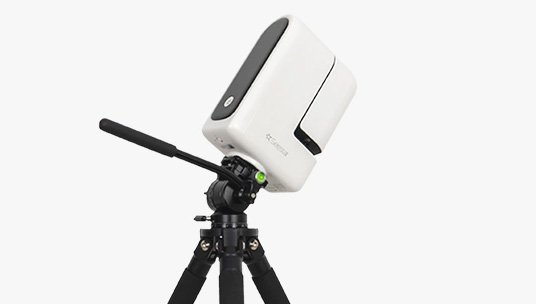
This is where the situation gets a bit dicey. You’re going to need a bit of hardware to lean the SeeStar downwards and to the South. ZWO sells a tilter which is like a video head, where you simply unlock it, push the SeeStar into place, then lock it again. This works in theory, but lacks the precision you need to really nail that angle (which has to be the same as your latitude). Holding it in place while you’re locking it is quite a gymnastic feat, and it inevitably moves so you find you’re out of alignment.
Well, that’s one way of doing it
The answer to the accuracy issue is to use an adjustable wedge. Rather than simply pushing the tilter into place and locking it, an adjustable wedge moves slowly as you turn a knob – and more importantly, doesn’t move when you look away. This gives you way more control over that critical angle. There are several adjustable wedges available, including models made by Sky-Watcher, an iOptron and Move-Shoot-Move.
What’s worse, the S50 Pro is heavier than the S30. If you’re located in the north of Australia, tipping a heavy SeeStar over to the required angle is an especially terrifying task. If you’re using a tiny wedge on a heavy SeeStar, it’s only scarier.
And to add an extra layer of complexity, the gradations on wedges are put there on the assumption that the edge of the wedge’s base points at the pole. The SeeStar’s top has to point at the pole, so the wedge has to be set at 90 degrees minus your latitude.
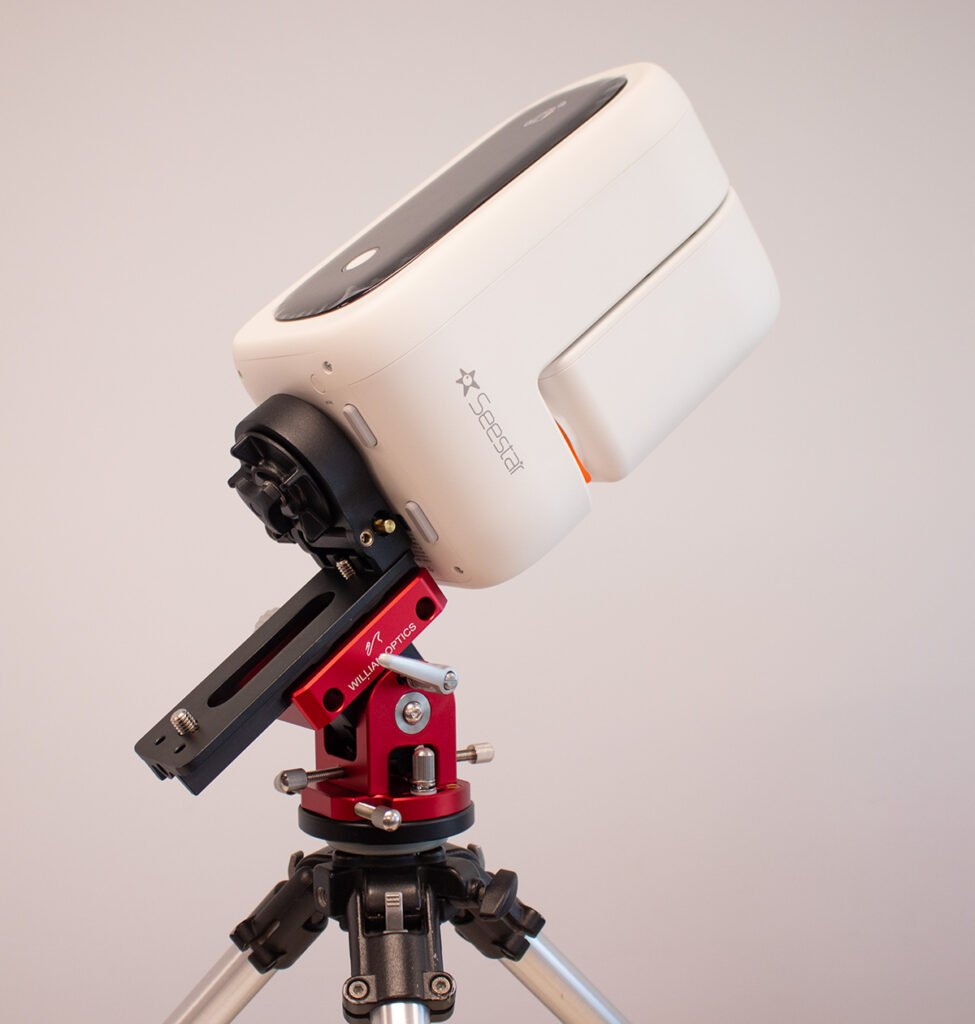
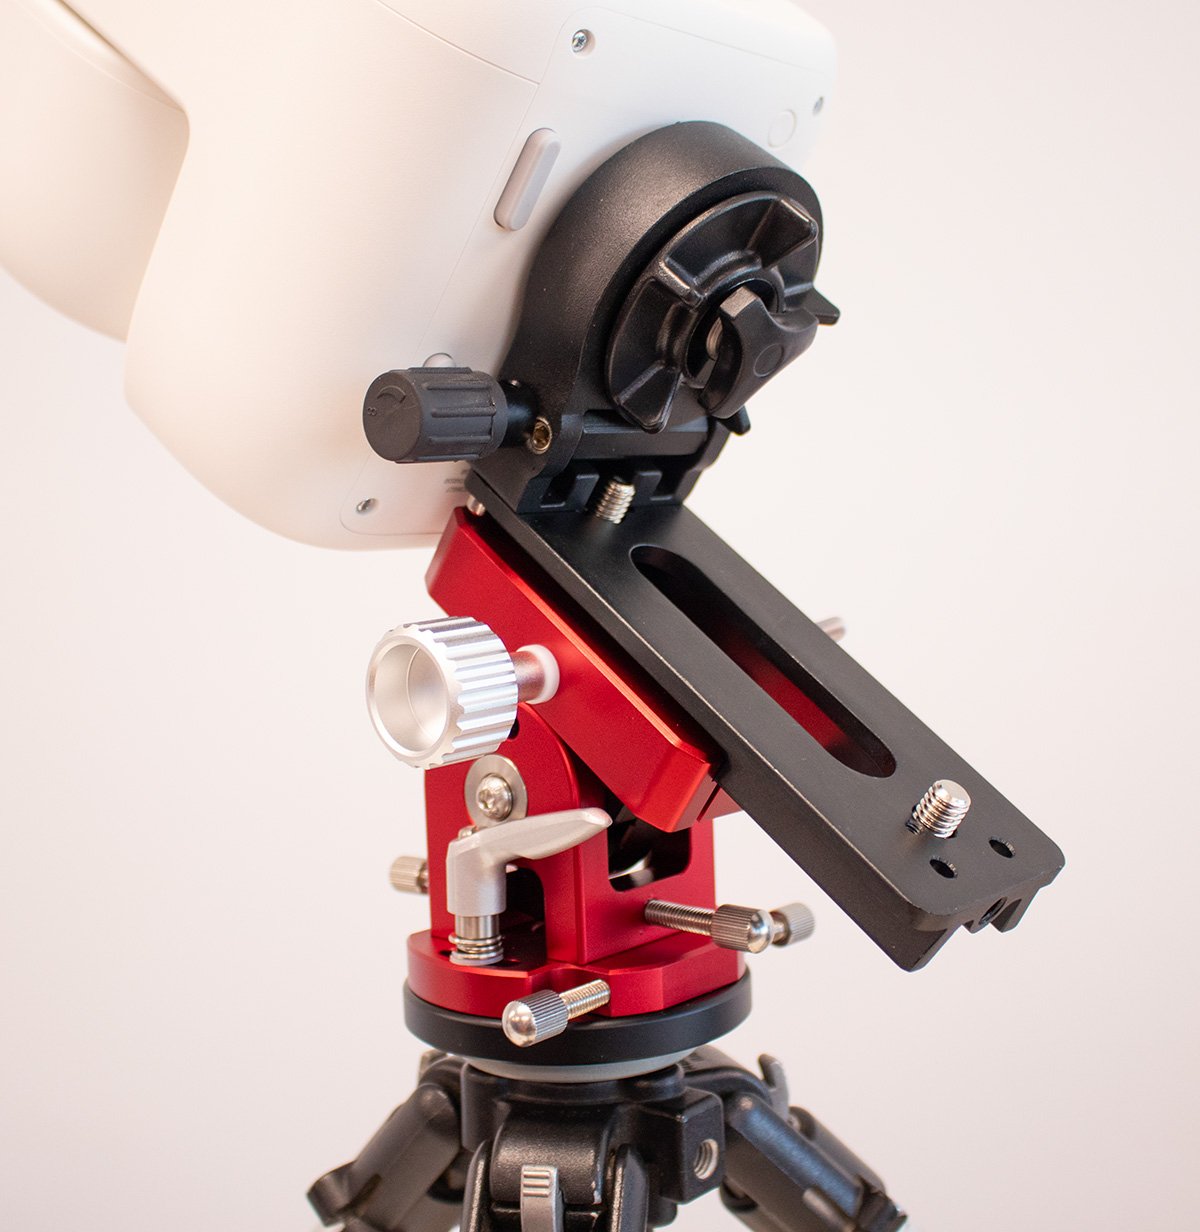
The William Optics wedge is very well made out of CNC aluminium. Movements are smooth and it’s adjustable to cover any latitude in Australia. The L-bracket means you can attach the SeeStar securely to the Vixen clamp on the wedge, and because the SeeStar is rotated through 90°, the gradations are simply your latitude. The L-bracket also has a crown-and-worm adjustment so you can rotate the SeeStar to its start position without forcing the motor or shimming the gap between the SeeStar and the bracket.
Job done!
We made up a kit that solves all the problems you’re likely to run into when putting your SeeStar into equatorial mode.
the rig is beefy enough to lift a heavy SeeStar on a rakish angle
it adjusts simply and smoothly using bolts
it allows adjustment in RA so you can accurately set the SeeStar’s start position
it allows you to simply dial in your latitude using the gradation on the wedge.
Macrophotography with a WeMacro Rail provides the depth of focus normal macro lenses can’t achieve. But managing lighting is still a difficult process, especially in such a cramped area. This article shows the effect of a couple of gadgets that help you see while posing your subject and diffuse harsh lighting during the exposure run.
Eclipses have been seen as an omen by nearly every civilization. Being able accurately predict an eclipse would give a leader immense persuasive power. Ancient astrologers noticed that solar eclipses followed a pattern. Get it right and you’re in for a promotion. Get it wrong and things might not be so good.
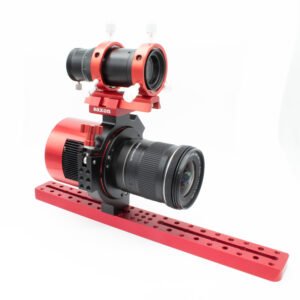
In this blog we put together a deep-sky, cooled camera and lens rig for wide-field autoguided imaging. We used components that fit together without having to drill new holes. This will go onto a go-to equatorial mount and give us long exposures with any camera lens. It also provides extra mounting points for autofocus motors, computers, or other components.