Colour vision is cool
Most of us have full colour vision. The cone sensors in our retinas are sensitive to red, green and blue light separately. This means that when you see things, what you’re really seeing are three overlaid monochrome images. Our brains combine these images, so we interpret the three “channels”, red, green and blue as a single full-colour image.
When you’re at a telescope, the same process is going on. Your eyes are picking up the three channels, and your brain is combining them into the colour image you’re seeing. Say you’re looking at a galaxy. These are primarily made up of stars, which shine across the full spectrum. Our brains assemble the colour images in the same way, by combining the red, green and blue parts of the spectrum.
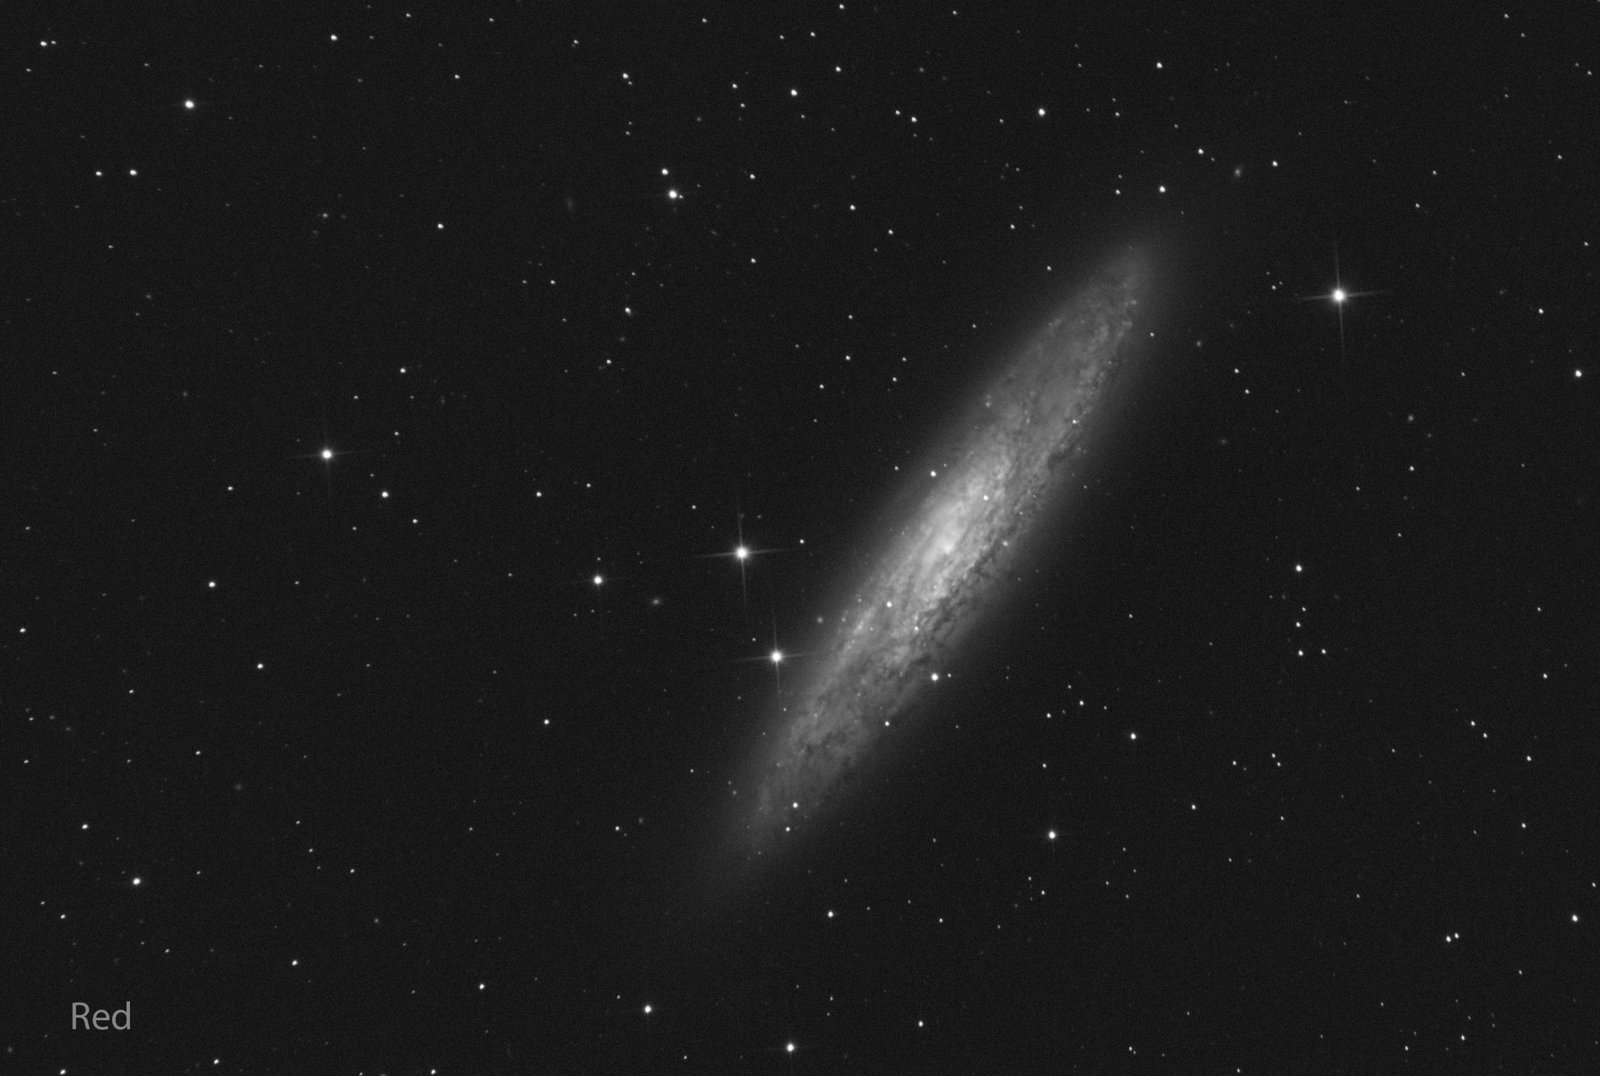
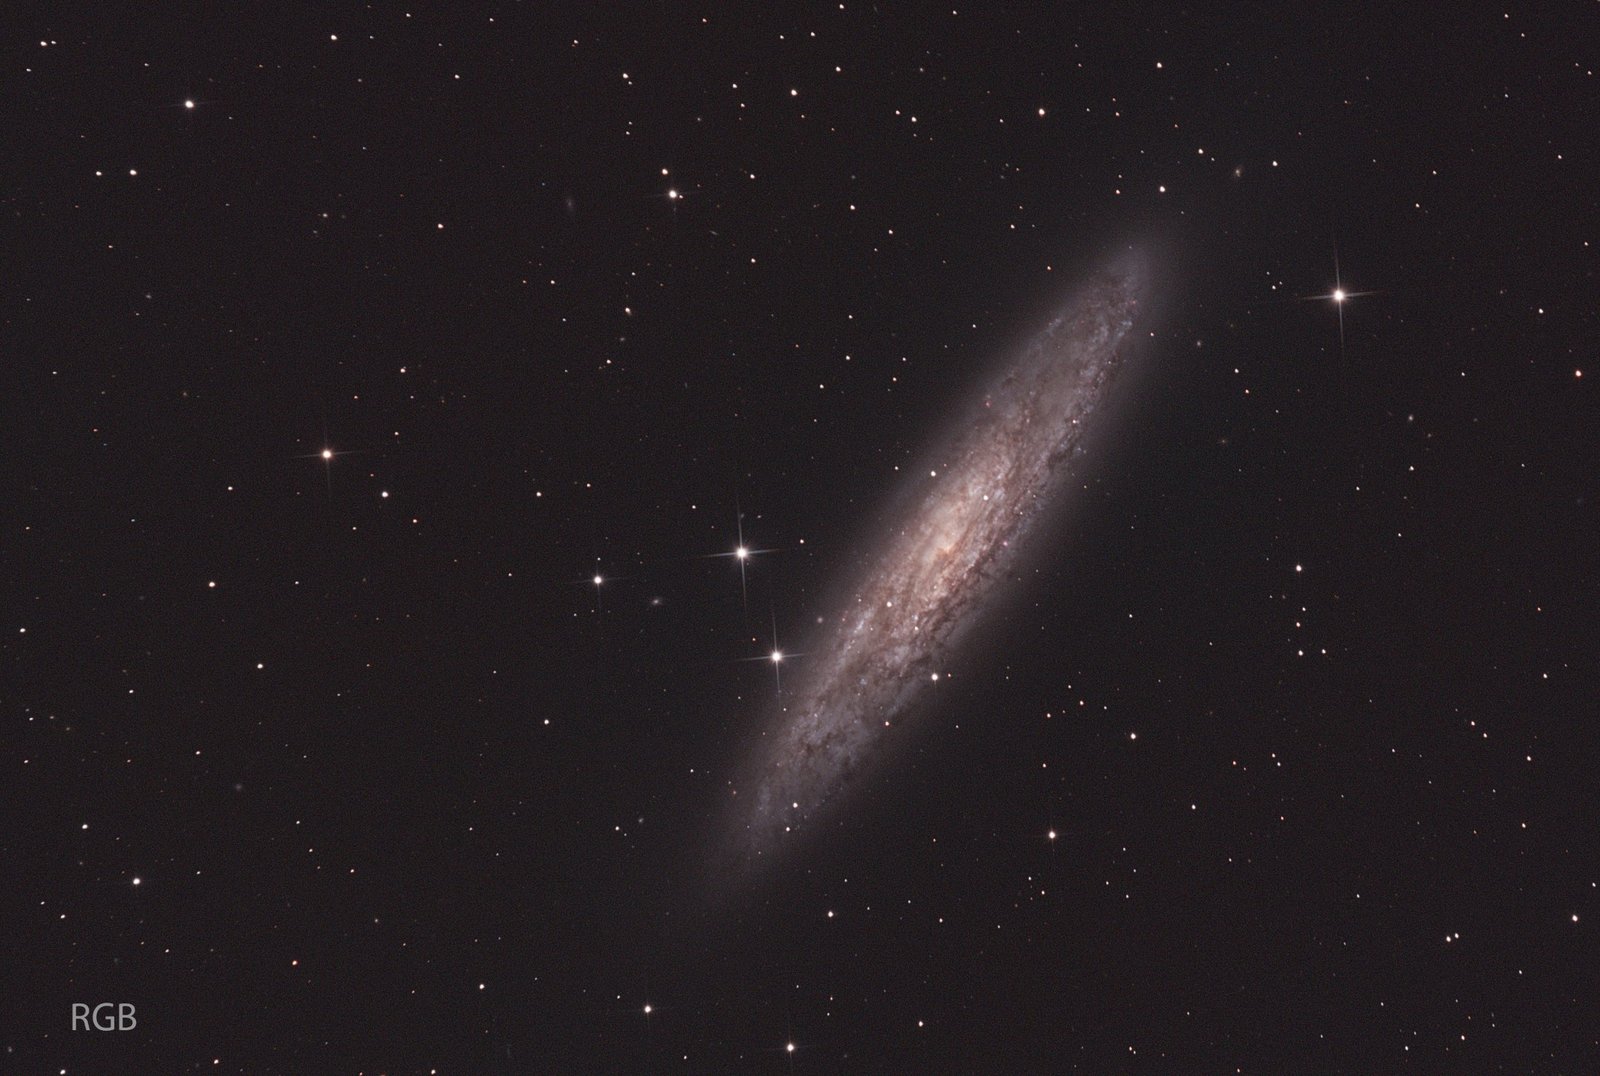
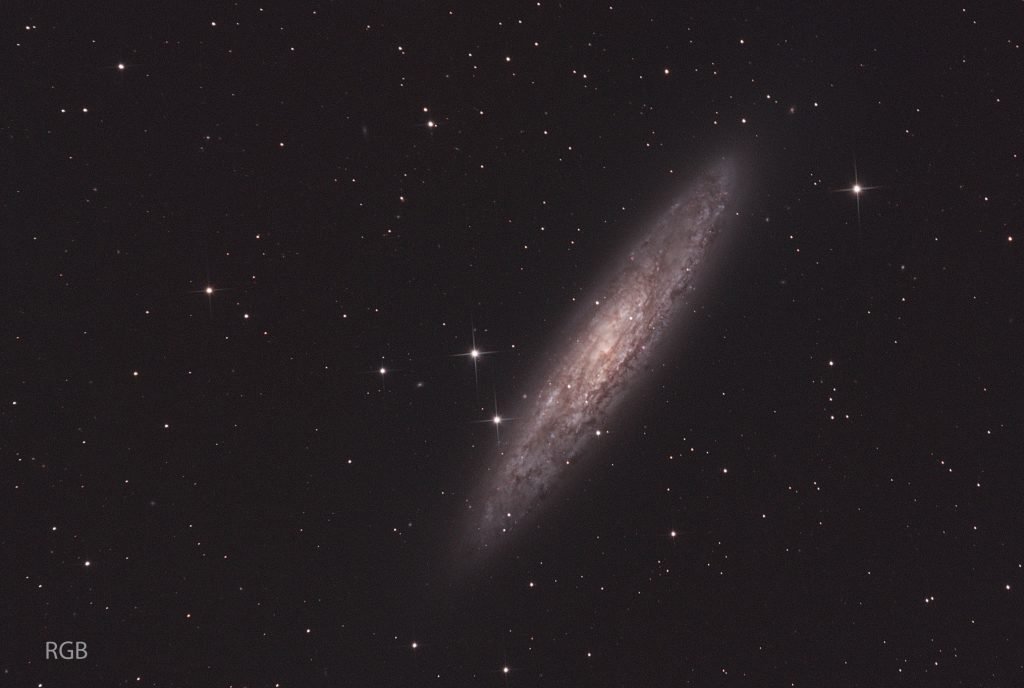
It’s easier to explain using photographs. Using a monochrome camera, I got stacks of 15 two-minute exposures using red, green and blue filters of the Sculptor galaxy, NGC253. You can see the separate channels below, the differences being subtle, but significant. I’ve also added the combined “RGB” image, which I’ve made a bit larger so you can see it.


But you’re missing out on something
As you know, galaxies aren’t just stars. Apart from planets and a whole heap of other objects, they contain nebulas, and most interestingly emission nebulas. Some of these are big enough to be seen in the photo. A nebula is a diffuse cloud of gas or dust in space. It’s mostly hydrogen. When hot, often newly formed stars blast this hydrogen with high-energy radiation, it ionises and glows. This is different to reflection nebulas, which are quite passive, and visible simply because the surrounding stars are shining light on them like a torch. An emission nebula glows with light of its own.
When hydrogen ionises, it glows primarily in what we call Hydrogen alpha (Hα) light, which has a frequency of 656.28 nanometres (nm). In terms of colour, this is a deep red. You can see it in this diagram, a red line amongst all the “red-ish” frequencies that your eye’s red-sensitive cones react to.
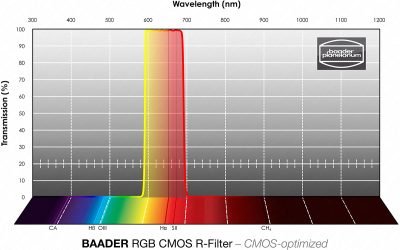
The colour sensitivity of human eyes varies, but it starts dropping off around 650nm, so you can’t see Hα very well. It’s even worse in low-light conditions, like when you’re looking through a telescope at night. Observing a galaxy, you might be able to just see those emission nebulas as red lumps. However, they won’t really show up, especially when other reds are present.
When we’re taking photos, the situation is not a whole lot better. The camera is more sensitive than your eye but look back at the Hα line in the frequencies your eye sees as red. The light from those emission nebulas is getting absolutely swamped by other red-ish frequencies. Because those stars are pumping out light all over the spectrum, what you’re more likely to see is a hazy smudge.
A hydrogen alpha filter
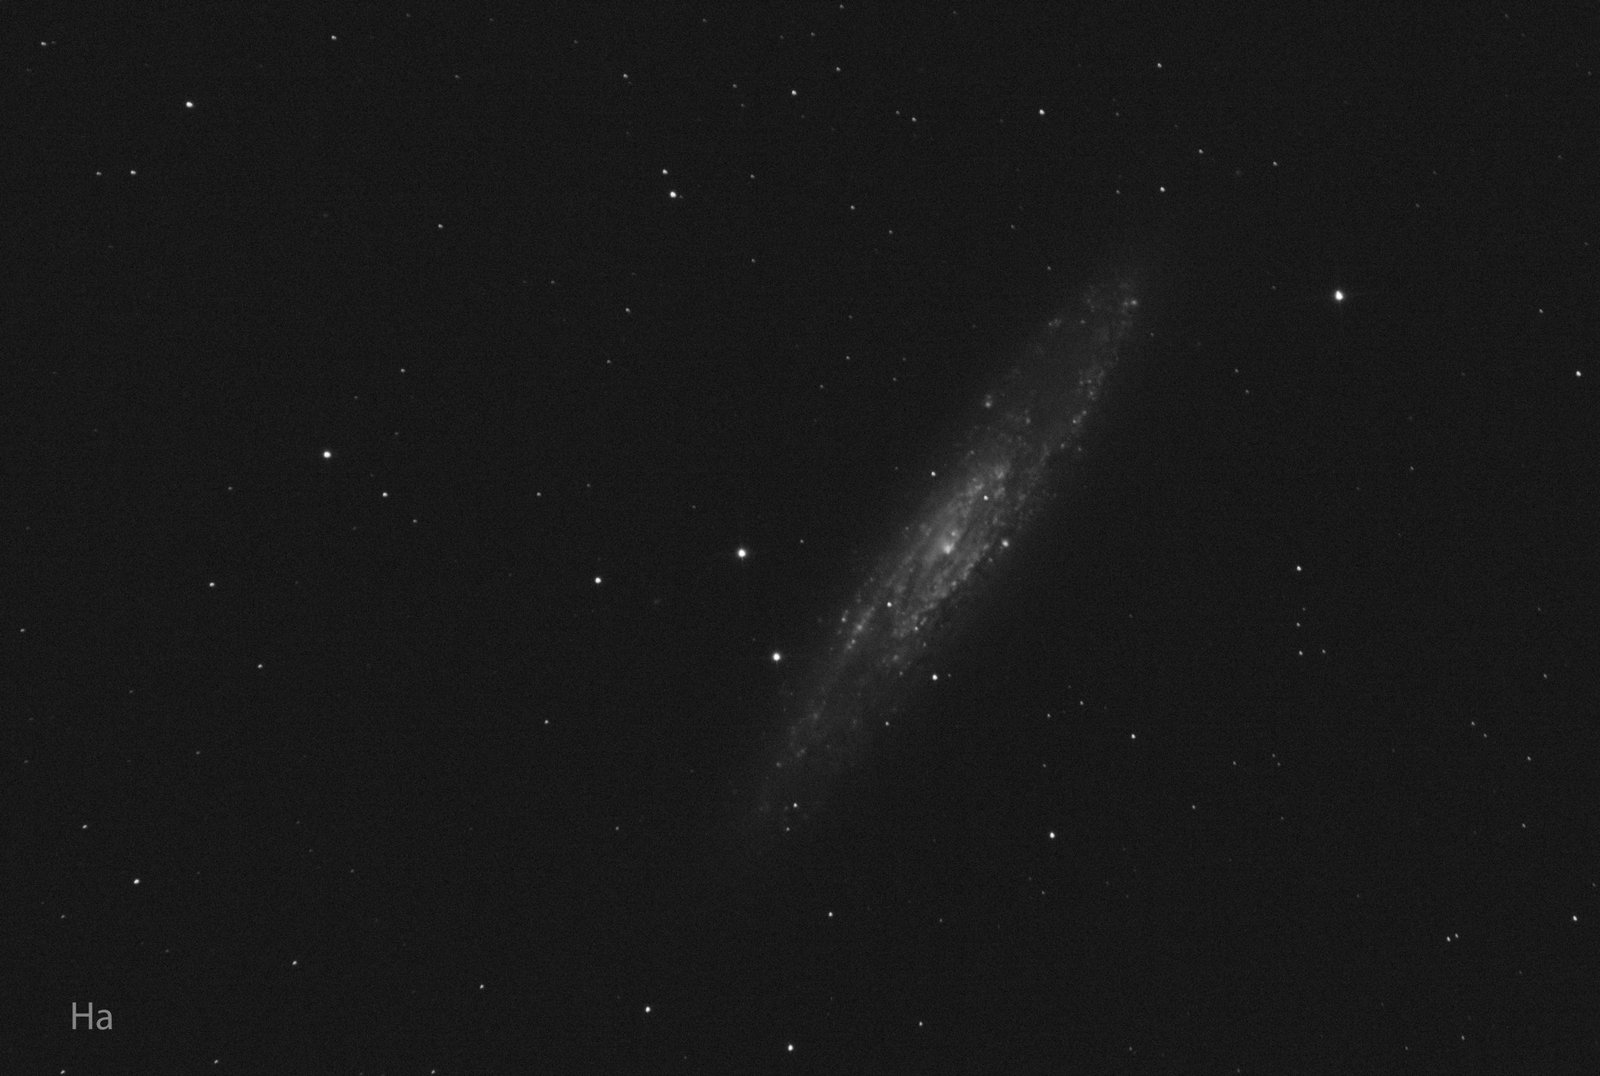
But what happens if we use a Hydrogen alpha narrowband filter for photography? This filter blocks all light apart from a small window (normally 7nm, but they can be narrower) around that 656.28nm point. It looks like a very dark red bit of glass and only allows light from ionised Hydrogen through to the camera. Because it’s so dark you’d never use it for visual astronomy. Even if you have a camera, you normally have to take extra-long exposures.
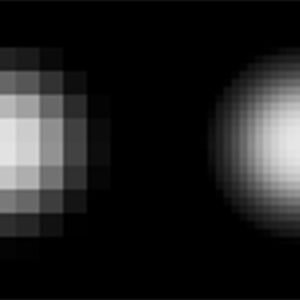
This is what you see when you photograph that same galaxy with an Hα filter. You’ll notice the galaxy is way dimmer, but you still can see all the lumps and bumps that make up the nebulas.
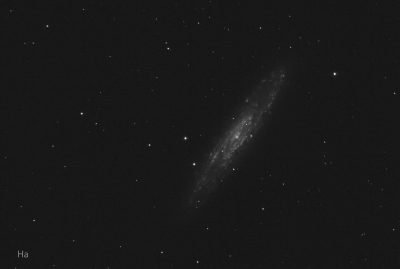
What we can now do is add the Hα image to the red channel, making the nebula areas brighter (or redder) while not changing the other areas. Once we’ve done that, we can combine the red, green and blue channels in the same way as before.
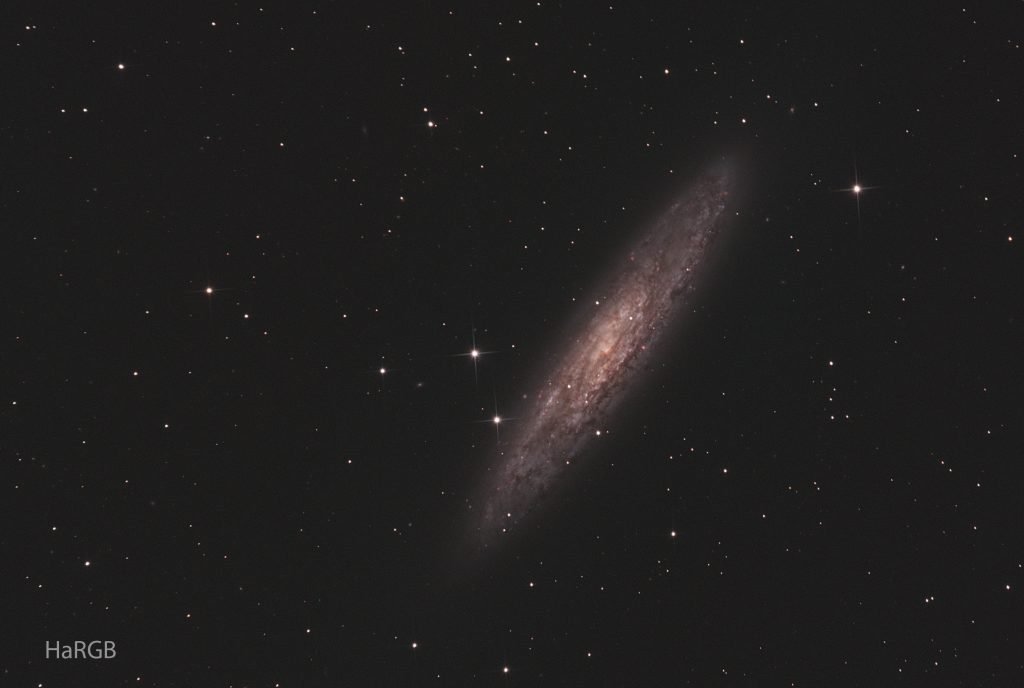
The combination – HaRGB
Have a close look at the HaRGB image at the top of the page. If you compare it to the plain RGB image it looks very similar, but the contrast is a little better. Some areas of lumps and bumps are a bit redder. What we’ve done is to draw out those emission nebulas around the outside of the galaxy just a little.
Of course, there are emission nebulas all through the galaxy, but those on the inside are mostly hidden by the white light of the galaxy’s foreground stars. And that word “foreground” is doing a lot of heavy lifting here – those stars are about 11.5 million light years away!
Finally…
Note that my processing of these images is as comparable as I can make them. Each of the four channels are stacks of fifteen two-minute subexposures taken from a telescope we installed in a school dome in Victoria. I combined them in Astro Pixel Processor to be RGB and HaRGB and presented as-is. I’ve made a few minor tweaks in Photoshop, but in a comparable way. What I’ve done to the RGB image I’ve also done to the HaRGB image, and to the same extent. There have been no sophisticated steps like deconvolution or any AI-driven processes like blur exterminator.