There’s a Lunar eclipse coming up shortly!
Actually… there’s a good chance you’re reading this some time after I wrote it, and if that’s the case I’m sorry for raising your expectations. Never mind though, Lunar eclipses happen reasonably often, it’s not one of those “once-in-a-lifetime” events.
Lunar eclipses are normally called “blood moons” because the Moon’s surface is lit only by light that makes it through the Earth’s atmosphere. If you were on the Moon during a lunar eclipse, you’d see the Earth hiding the Sun, and it would look like a black circle surrounded by a red edge. It’s essentially a circular sunset. Creepy!
But I want a photo!
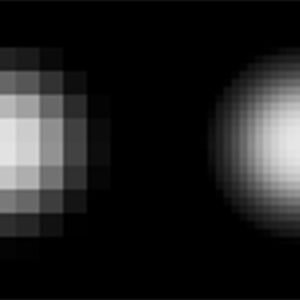
Well, of course you do! Now, most people are going to pull out their phone, hold it up, zoom in and take a photo. This is how disappointing photos happen. If your phone has AI, then you’ll get a great image of a Moon that someone took a few years ago and that’s what the AI thinks you want to see. If your phone doesn’t have AI, the image will be wiped clear of all details, leaving an orange circle with maybe a few shadowy patches for mares.
So how do you get a good image?
There are difficulties
It’s a challenge. The main reason is that our atmosphere – normally considered to be a good thing to have – is a swirling mass of warmer and cooler blobs of air. These different temperature areas create slight lensing effects between you and the Moon, which means that the image swirls around a bit. It’s like looking at a coin at the bottom of a fountain. You can see this if you look through a telescope set to high magnification, and it’s especially obvious on a warm night in summer.
Why is this a problem? Well, under normal circumstances, the full Moon is super bright, so much so that it’s dazzling to look at through a telescope. But during an eclipse, when the Moon is in the Earth’s shadow, not only is it creepily red, it’s also quite dim. A camera (set to a reasonable ISO setting) will have to expose over a few seconds to get enough light. In this time, even if your camera is secure on a tripod, the details will swim around, and your photo will end up looking blurred and almost out of focus.
So what do you do about it?
Well, it’s a bit of a process, and you’ll need to take at least two photos. You’ll combine them on a computer afterwards.
Oh, you can do this with your phone (although it’s tricky), but I’m assuming you’ve got a camera on the back of a telescope (see below for some details) or a decent-sized camera lens on a tripod. You won’t need a tracking mount for this. For my image, I used a tripod, a Pentax DSLR and a 500mm birdwatching lens. I guess I should have used my refractor telescope, as it would have been even better.
A white image
I can’t give you details for where you are, but in Melbourne, the upcoming eclipse starts at about 1:30am. At this point the Moon will be very full but won’t have any shadow falling on it yet. So, drag yourself out of bed and take a photo. We’re calling this the “white” image, for obvious reasons.
You will want your camera to be set on manual (including manual focus), and the image to be very fast, say 1/1000s. If you don’t have a remote shutter release, use the camera’s self-timer so you don’t have to bump the camera when it fires. Everything we’re doing is to get the details as sharp as we can. Check your focus and if you need to take another one, go ahead, because this is where you want to be a bit anal retentive.
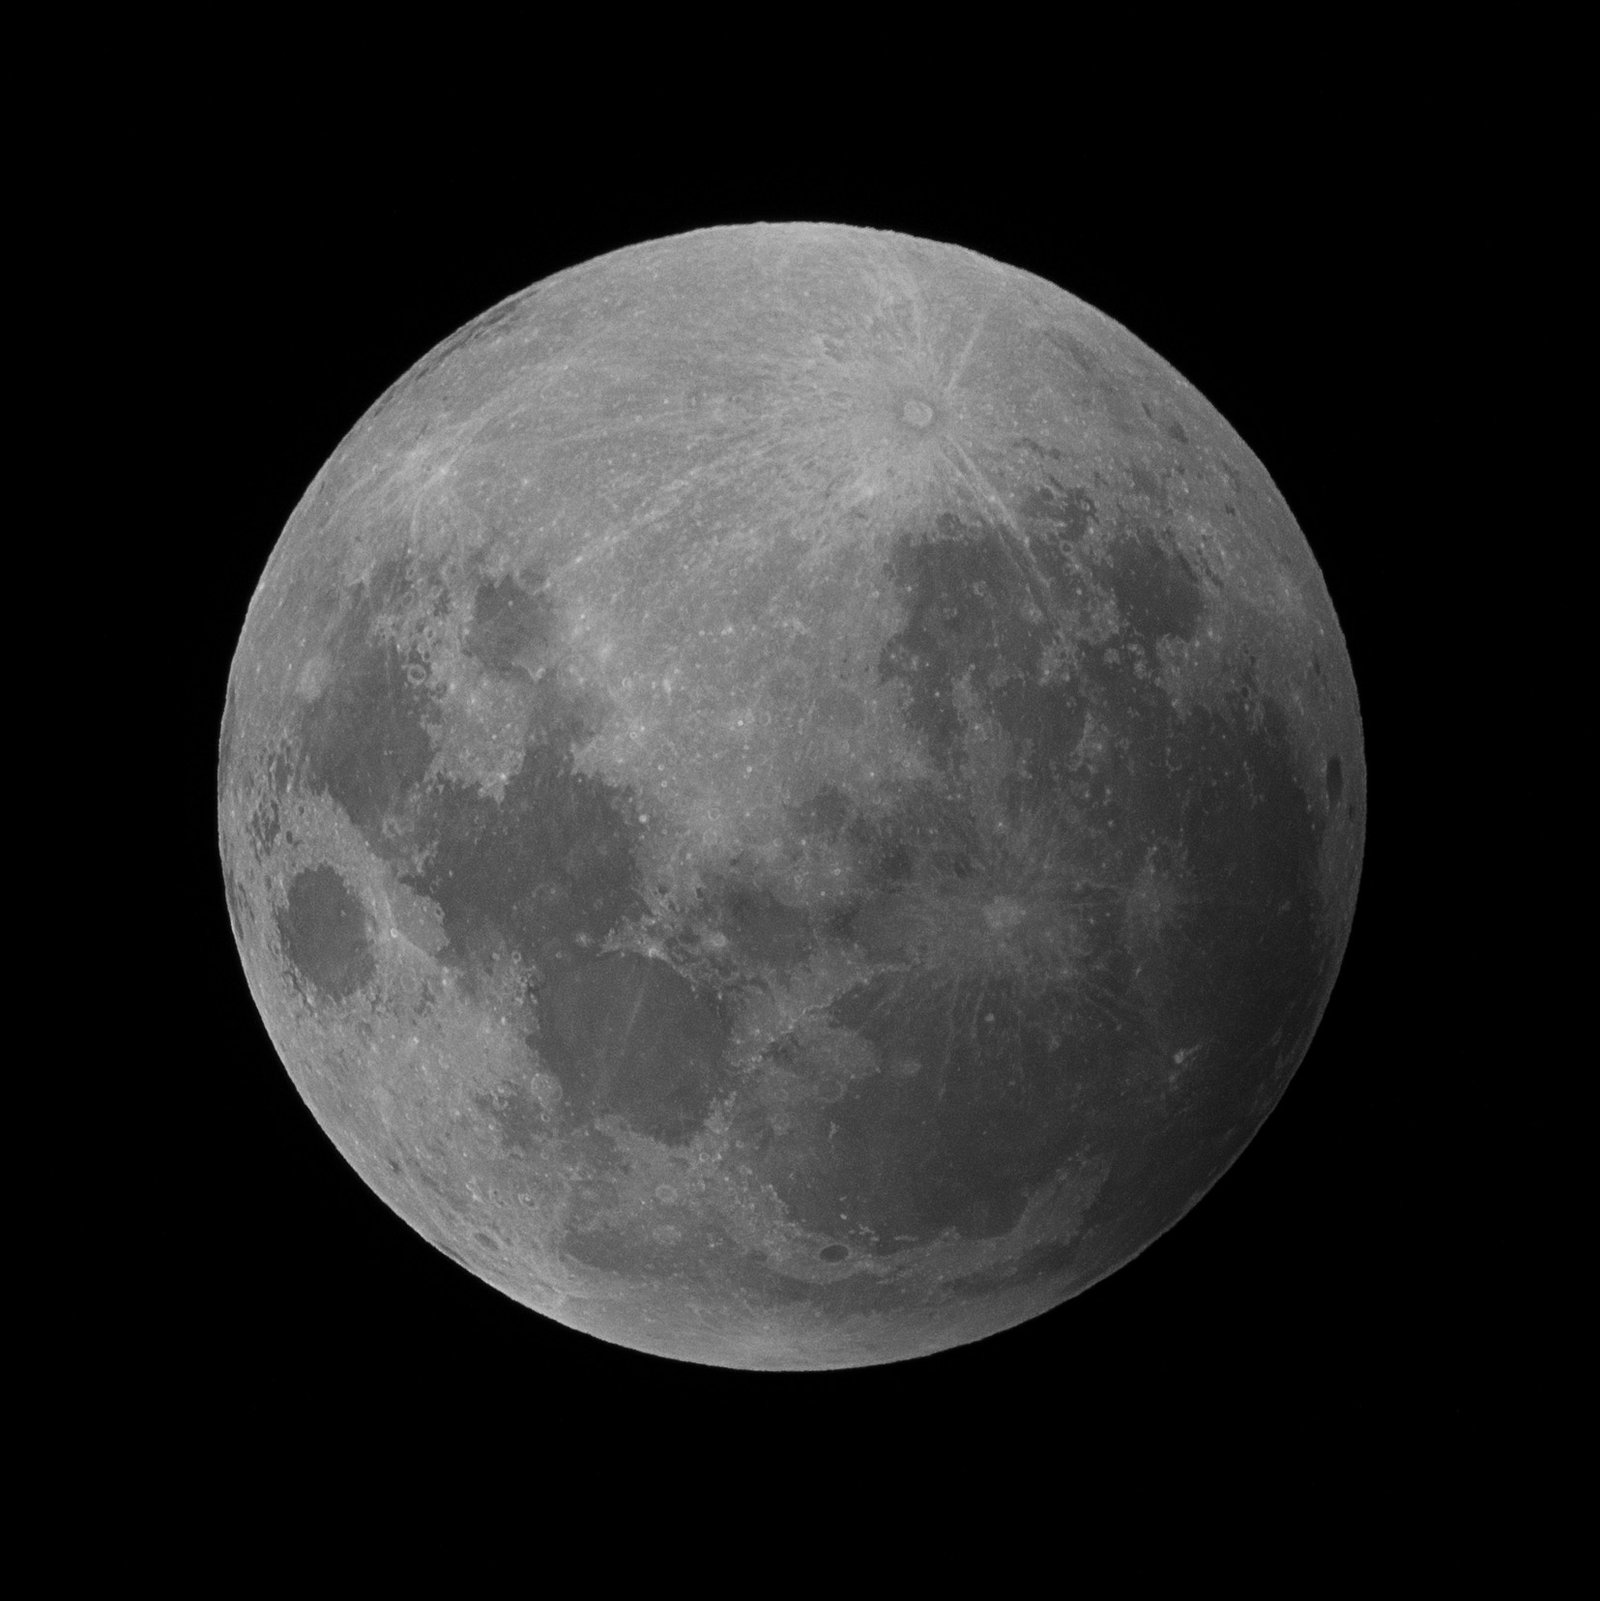
The white image is there to show details as sharply as you possibly can. Believe it or not, colour isn’t important in this image. It should look a little like this:

(If you’re experienced, rather than taking a single image, you may want to take a load of images, then stack them with AutoStakkert and sharpen them with Registax. This process will get you even better detail in the “white” image.)
A red image
Now, wait until the mid-point of the eclipse (again, you’ll have to check for your local area, but in Melbourne, this is at about 4:10am, so there’s more than two hours for a nap between images.
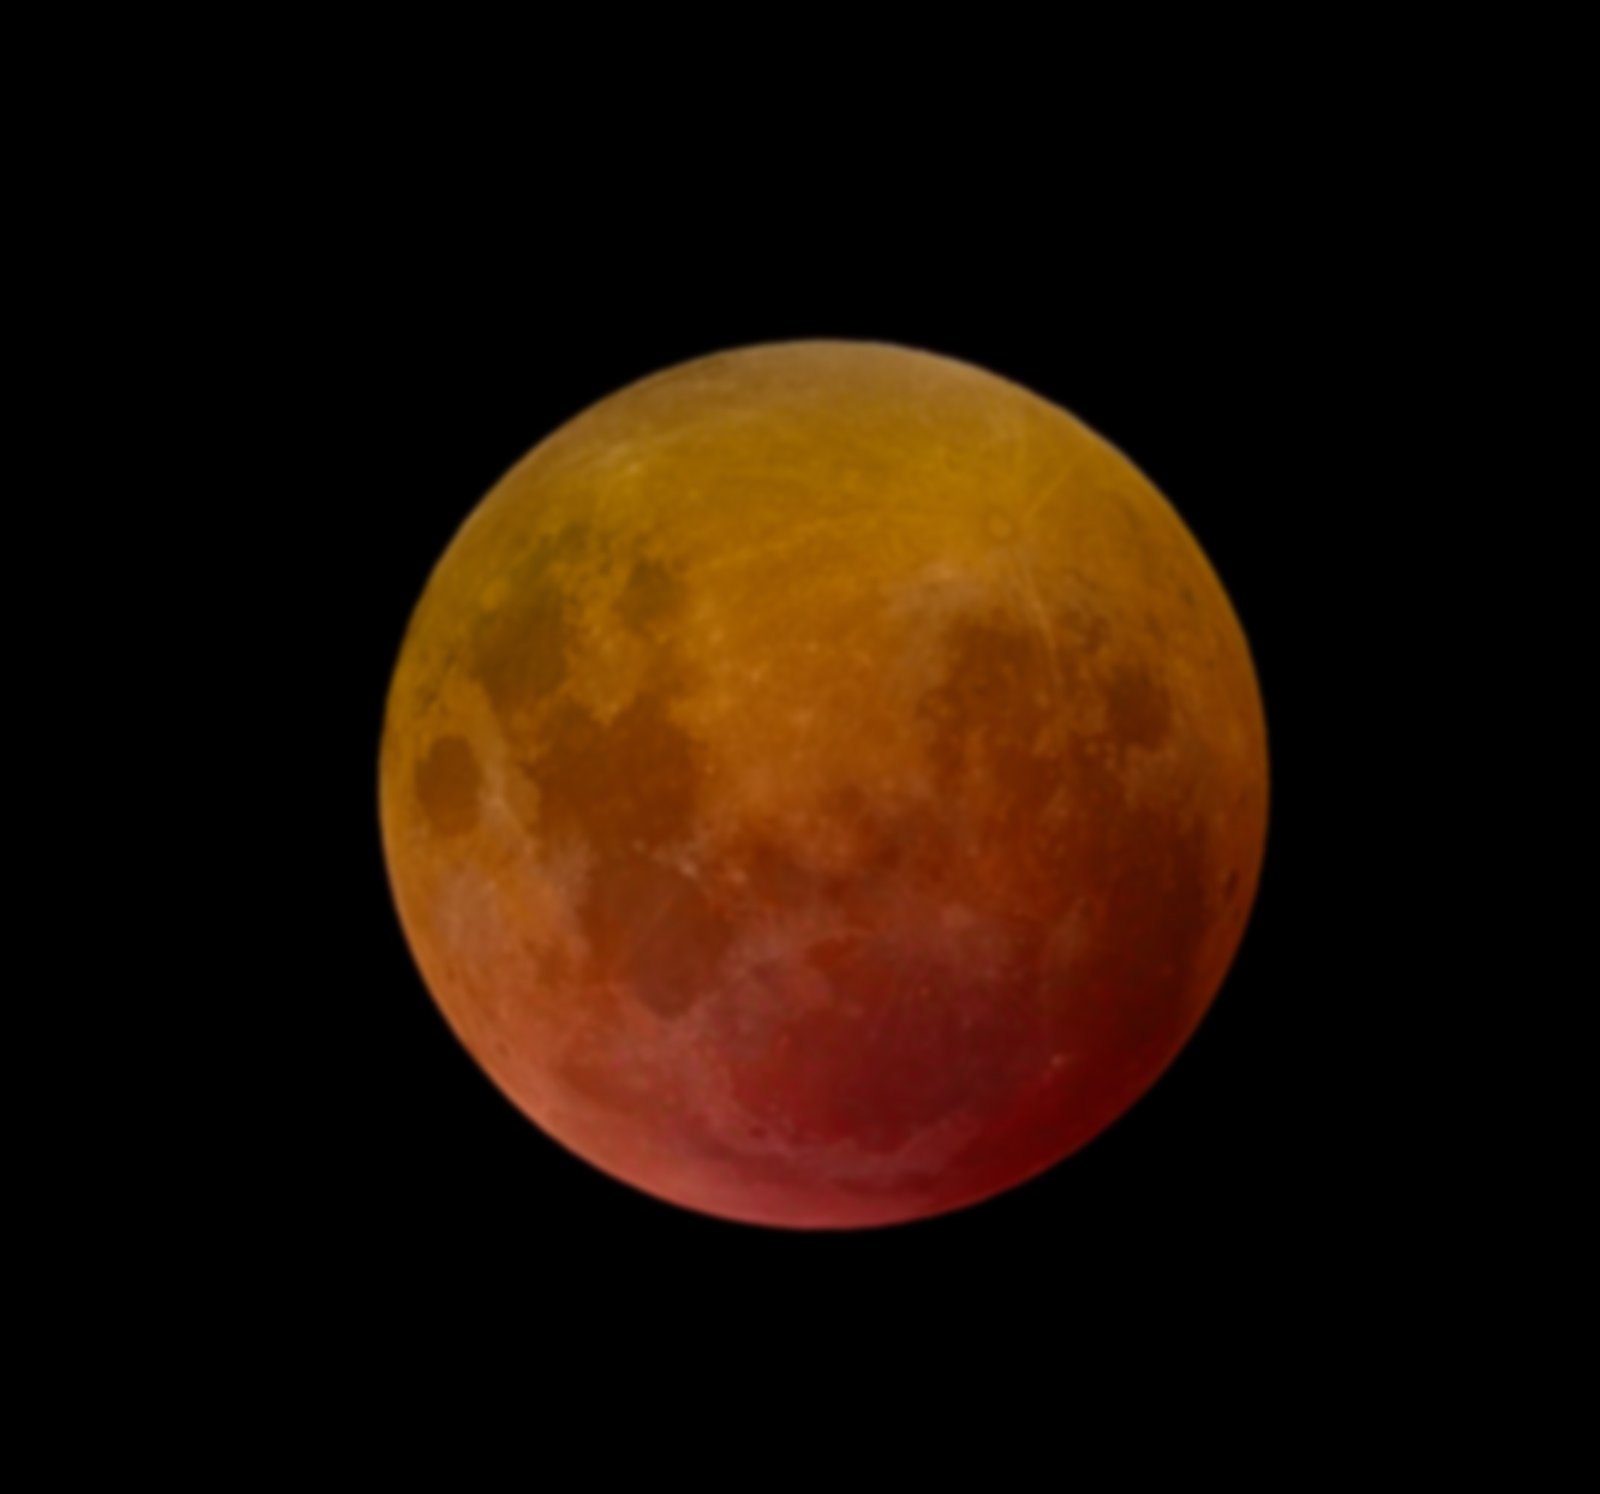
Go back to your camera and, with the zoom set at the same as for the white image, take another shot of the (now very red) Moon. You’ll notice that it’s nowhere near as bright, and your camera will have to be open for a few seconds. Make sure the image isn’t overexposed, which would wash out the nice red colour. You might like to take several with different exposure lengths to pick the one that’s the most lurid. We’re calling this the “red” image, again, for obvious reasons.
If you have a close look at the red image below, you’ll notice that the details are nowhere near as good as for the white image. Even though I know you’ve focused as well as you can, it’s almost as though the shot is out of focus. This doesn’t matter, because the red image is the opposite of the white image, and details don’t matter, the colour does.

The wonder of an eclipse
Once you’ve got your red image, spend some time looking at the eclipse. Imagine two things…
First, what’s happening here? When we’re looking at the eclipse, the Sun is directly behind us, and that’s casting the Earth’s shadow on the Moon. Blue light is scattered away from the Moon by our pesky atmosphere, leaving only the red colour to light the Moon’s surface. The Moon is also so dim, you’ll probably be able to see stars very close to the full Moon, and that’s something you really don’t see often.
Second, what would you think was happening if you didn’t know anything about the solar system? What conclusions would a person who is as intelligent as you, just living a few thousand years ago, be making? I think it’s important to be able to separate the possession of information from the possession of intelligence, and this is a good example.
Putting together the image
We have two images: the white image, which contains all the detail and none of the colour, and the red image which contains none of the detail and all of the colour. Wouldn’t it be great to be able to get the detail from the white image and the colour from the red image? Let’s do it.
Open both photos in the image processing application of your choice. I use Photoshop, although I don’t like their subscription-based payments. If I had a bit more moral fibre I’d use GIMP. Anything will do, as long as it has the capability to do layers.
Convert the white image to actual black and white. You probably won’t notice any difference as the Moon is pretty much monochrome anyway.
Combine both images into one file with two layers, with the white image on top. You’ll have to move them around and rotate them to get them arranged nicely, as they will probably be differently oriented. You may also find it useful to make the white image a bit transparent so you can better see how they match up. You may not be able to get it pixel-perfect.
Finally, set the blending mode (sorry, I speak Photoshop) of the layer with the white image to “luminosity”. This does exactly what we want – for each pixel, you see the brightness (and therefore the detail) of the white image with the colour of the red image. My final image is at the top of the page.
So what is this?
This type of image is known as a “composite” and is an example of a more complex image processing strategy. Congratulations, you’re an astrophotographer!
Well actually…
Quite often, if I show this image to a group of people at Melbourne Observatory, some smart-aleck will say that it’s not a real image, and that a real image would be a single image. There might be some merit to that argument, but I can say that it’s entirely my image, my equipment and my work. Very few single images are used these days because with computers, complex image processing is easy. What you do want to avoid is to cross the line into image manipulation, where you can alter the “truth” of the image. My rule is that what I do to one pixel I do to all the pixels. This enables me to make changes that might highlight something in the image but will prevent me from inventing something in the image.
And there, the photography stops and the philosophy begins!
And the equipment
It’s very easy to take an image of the Moon through a telescope.
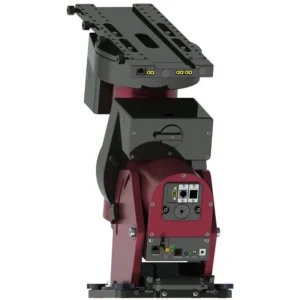
First, the telescope. You don’t need anything too sophisticated to get a nice image. I’d suggest a saxon 909AZ3, or a similar refractor. If you want some more optical oomph, try a Dobsonian such as the Sky-Watcher 10″ Classic.
The easiest way to get an image is with your phone, and you can use a phone holder to do this. A saxon ScopePix is a good start.
If you want to get a DSLR onto a telescope, you’ll need an adapter called a t-ring (or t-mount), as long as your telescope will accept a 42mm thread – look at your focuser drawtube. The t-ring also has to match your DSLR. The saxon 909AZ3 works well and the larger Dobsonians have the facility.
Obviously, if you’re in any doubt, call us and we’ll tell you what you need to know. Good luck!