There’s a total solar eclipse coming! If you’re in Sydney (or on a line from the top of Western Australia, through the Northern Territory, Queensland and New South Wales) on 22 July 2028, you’ll be guaranteed a mind-blowing phenomenon. But…
Looking at the sun without squinting
When I was at school (back in the early 14th Century) there was only one way to look at the sun through a telescope: solar projection. That’s when you point the scope at the sun, use an all-metal eyepiece, and project the image onto a white surface about a foot away. You could see sunspots, and see that each consisted of an umbra and a penumbra. I thought they looked like fried eggs on a plate.
Better, you could use a nifty gadget called a Herschel Wedge, which deflected something like 99.99% of the Sun’s light away. This way, you could look directly at the Sun and see more detail, such as some granularity on the surface. The Herschel Wedge got very hot after a while: the Sun puts out lots of energy, and it has to go somewhere. After a while it got too hot to touch.
What’s a better way?
These days, of course, you can still do the same thing. We do it at the Melbourne Observatory on sunny days. However, I’d advise extreme caution. I once literally set fire to a plastic lens while projecting. Let’s just say it didn’t do the eyepiece much good. You can still use a Herschel Wedge or a solar filter across the front of the scope. Just make certain it’s not going to fall off while you’re at the eyepiece.
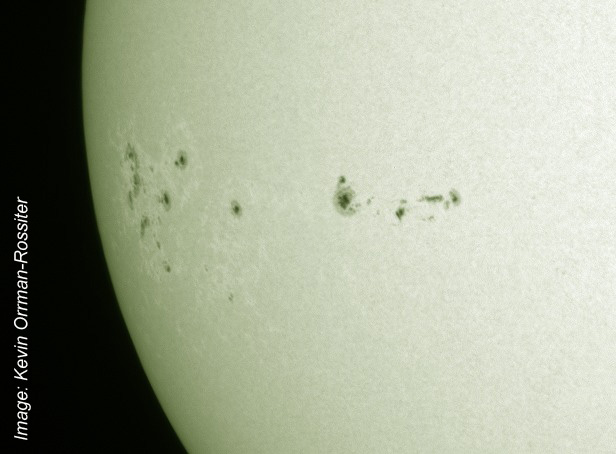
Here’s an image taken through a telescope with a Herschel Wedge. Because the filter turns down the brightness in all colours (photographers would call it a neutral density filter), we call it viewing in white light. You can see a good number of sunspots there, looking like fried eggs, and there’s a lot of granularity over the Sun’s surface.
Other types of filter
But with modern telescopes you have options. Rather than filtering out nearly all light across the whole spectrum, you can choose to filter all light except for a couple of frequencies. This gives you images that frankly look like they’re right out of a science fiction film.
Hydrogen alpha
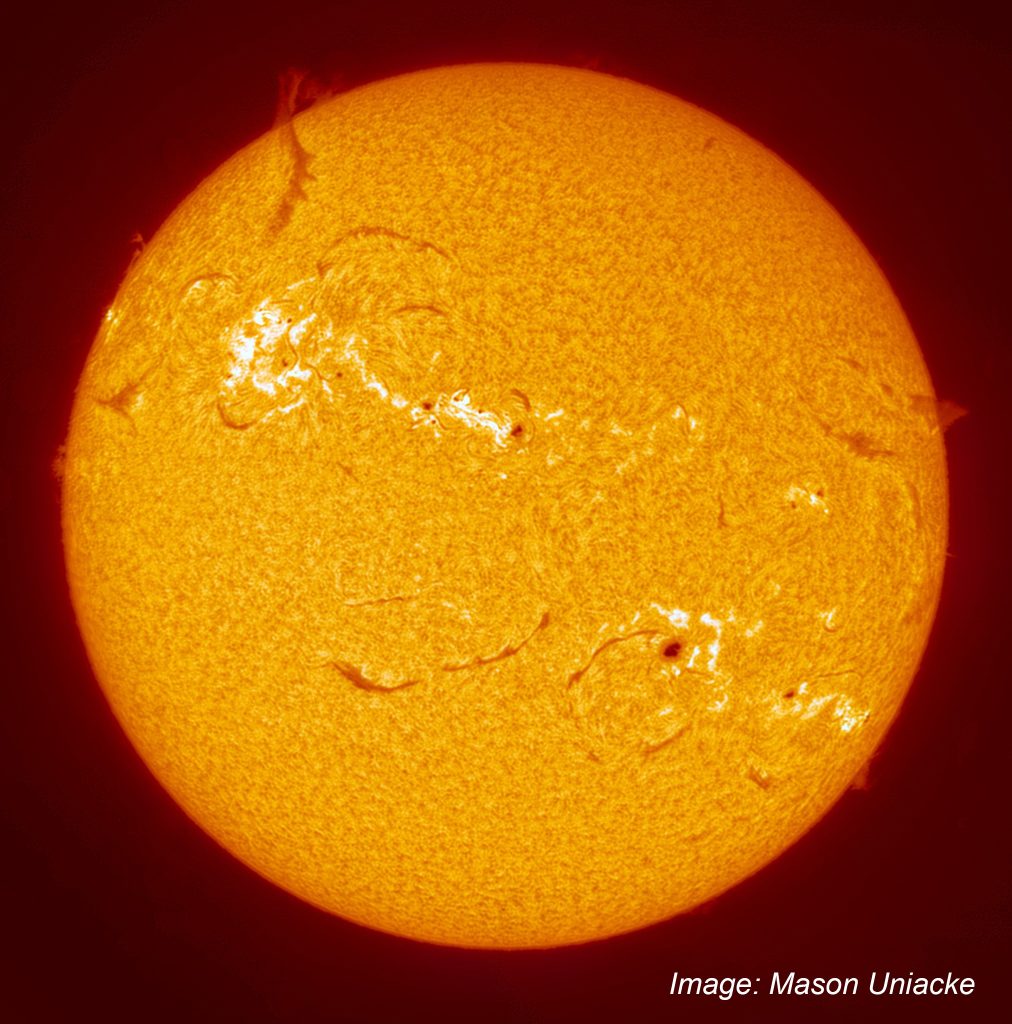
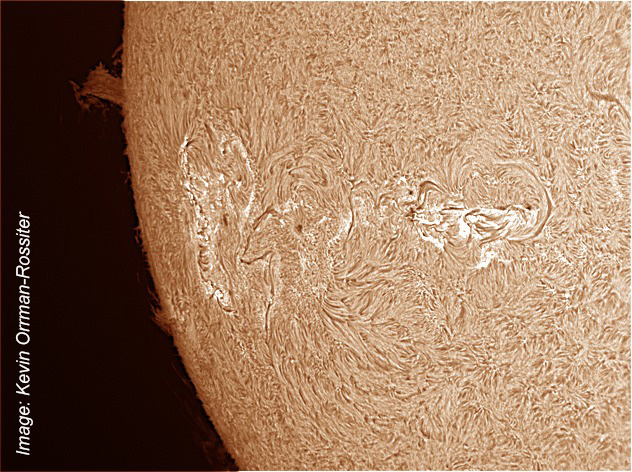
The most common image seen in a single frequency is that of Hydrogen alpha. This frequency is what is emitted in the most common ionisation of the Hydrogen atom, which is the most common element in our Sun. If you can filter out all but 656.3nm (nanometres), you can actually see what the atoms on the Sun’s surface are doing. The orange image at the top is taken using this technique.
Getting a view like this clearly takes a specialist telescope. Since the recent closure of Coronado, the only production telescopes available that can do this are made by Lunt Solar Systems in the US.
Lunt makes a range of dedicated (that is, Hydrogen alpha only) telescopes. They come in 40mm, 50mm a huge 152mm, and even larger apertures.
Here’s another example image in Hydrogen alpha. ASV member Mason Uniacke got this beauty. At the top left you can see a filament flowing all the way around the limb of the sun. It gives a very 3-dimensional effect. On reflection, it reminds me of a “comb over”.
Mason has a 50mm Lunt and he was imaging with a camera with a monochrome IMX429 sensor.
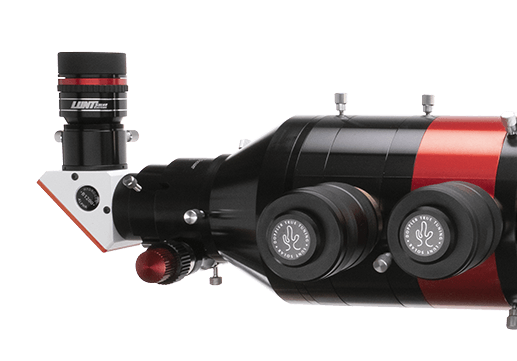
The simplest Lunt dedicated telescope is the 40mm version, and it looks pretty conventional. The 50mm version, on the other hand, comes with a pressure-tuned filter (called an etalon), which looks like a large knob on the side of the telescope.
Without getting into details (and boy, are there details…), the etalon adjusts the frequency you’re looking at, and with a bit of practice you can actually highlight different features on the Sun, thanks to the Doppler effect (see, I told you there’d be details!).
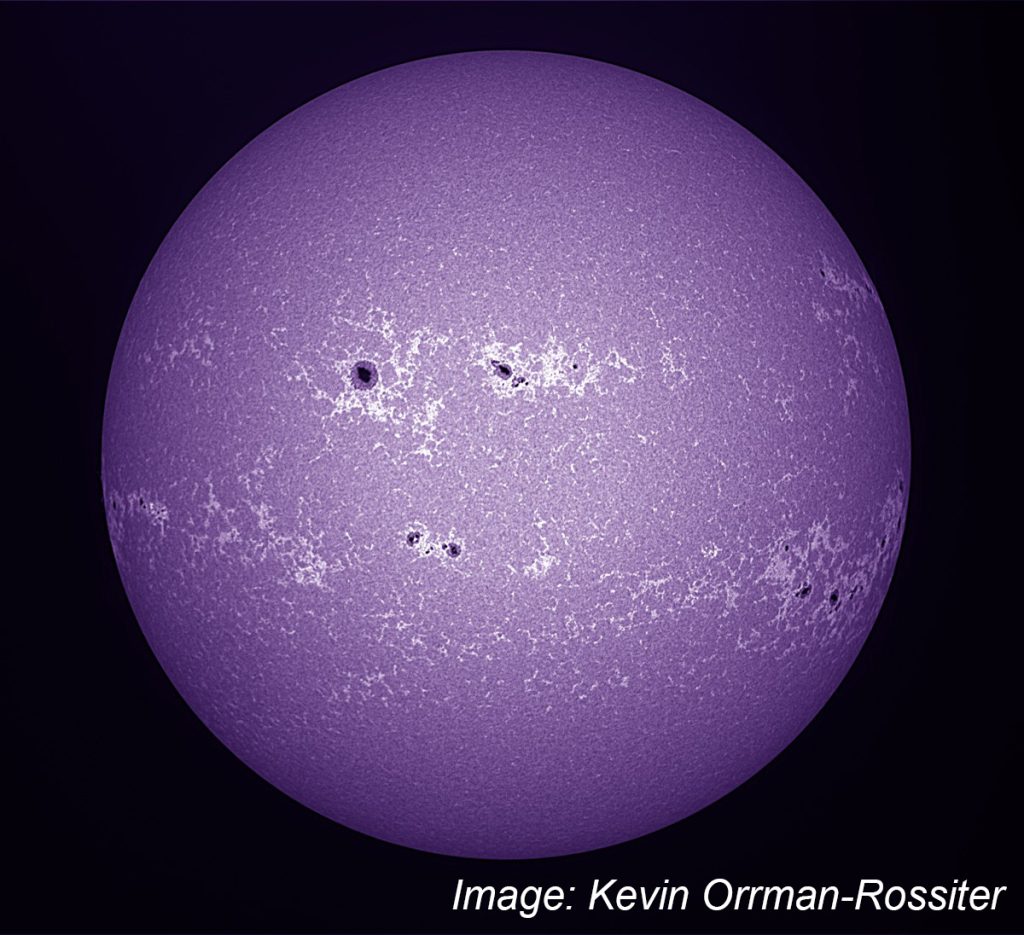
In addition, you can get a second etalon for the 40mm or the 50mm telescope. When correctly adjusted, this “double stack” can narrow the bandpass of the frequency you’re looking at. This can zero in on features even more, giving views like Kevin’s photos here.
But wait, there’s Calcium-K too!
You know that the Sun emits light in other frequencies as well, right? Hydrogen alpha is at the near infrared end of the visible spectrum. Right at the other end of the spectrum, near the ultraviolet, you can use a different filter for entirely different results. This is called a Calcium-K filter, and it looks at 393.3nm.
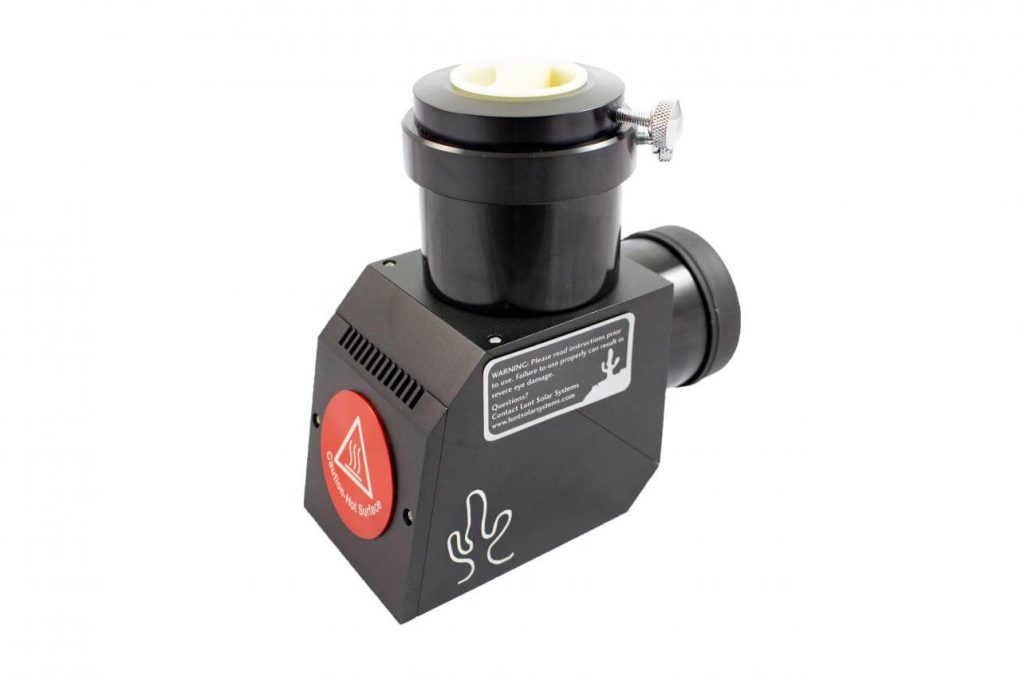
This type of image requires a more versatile telescope. So beside their simple solar telescopes, Lunt also makes a series of “universal” or “modular” scopes which you alter to suit your needs.
If you want a Ca-KÂ image like the purple one, you remove the Hydrogen alpha filter and swap it for a Calcium filter.
Similarly, if you want a double stacked image, you insert a second etalon (so the scope ends up with two knobs sticking out the side).
If you want to view the Sun in white light, you can use the satisfactorily chunky Herschel Wedge. You’ll note from the warning in the photograph that these things still get hot!
You can even remove the various filters and use the telescope as a normal night-sky refractor. The Universal telescope really is universal.
Getting into solar astrophotography
Of course, astrophotographers like us can’t see something without wanting to photograph it. And using the Lunt telescopes, you can do just that.
I normally advise solar astrophotographers to get a camera that’s capable of getting the whole of the Sun’s disk onto the sensor. That way you’re not forced to mosaic several images together. This is what you’d have to do with a small planetary sensor such as an IMX290. I’d also advise a monochrome camera – you’ll get much better resolution, and the colour coming from the filter is monochrome anyway.
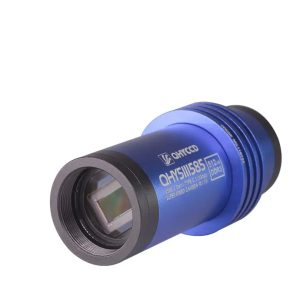
For the telescopes with focal lengths under 560mm (that is, the 40, 50, 60 and 80mm models), you should consider the new QHY 5III585M monochrome camera. It’s got a vastly deeper well than its predecessor, which will give you a better dynamic range on the super-high contrast images you get with Hydrogen alpha solar imaging.
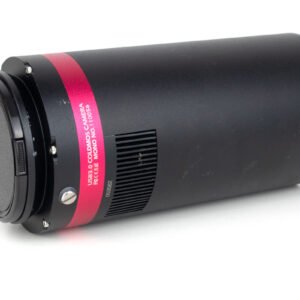
For larger telescopes, you’ll need something with a larger sensor like a ToupTek ATR183M or a QHY 533M.
Blocking filter
Changing image size leads to additional details (I think I did mention there’d be details). Near the focuser there’s an additional blocking filter. This provides an iris that protects equipment downstream. You’ll need to choose the blocking filter that will not vignette your image. Normally you’ll choose a blocking filter that’s comfortably wider than the short dimension of your camera sensor. If you’re only visual, the smallest blocking filter will be fine.
Sick of the details?
Single stack, double stack, blocking filters and frequencies. Solar viewing and imaging is amazing, but complicated. I’m not able to get very far into the weeds in a blog post, so if you’re interested, let us know and we can talk you through the options.