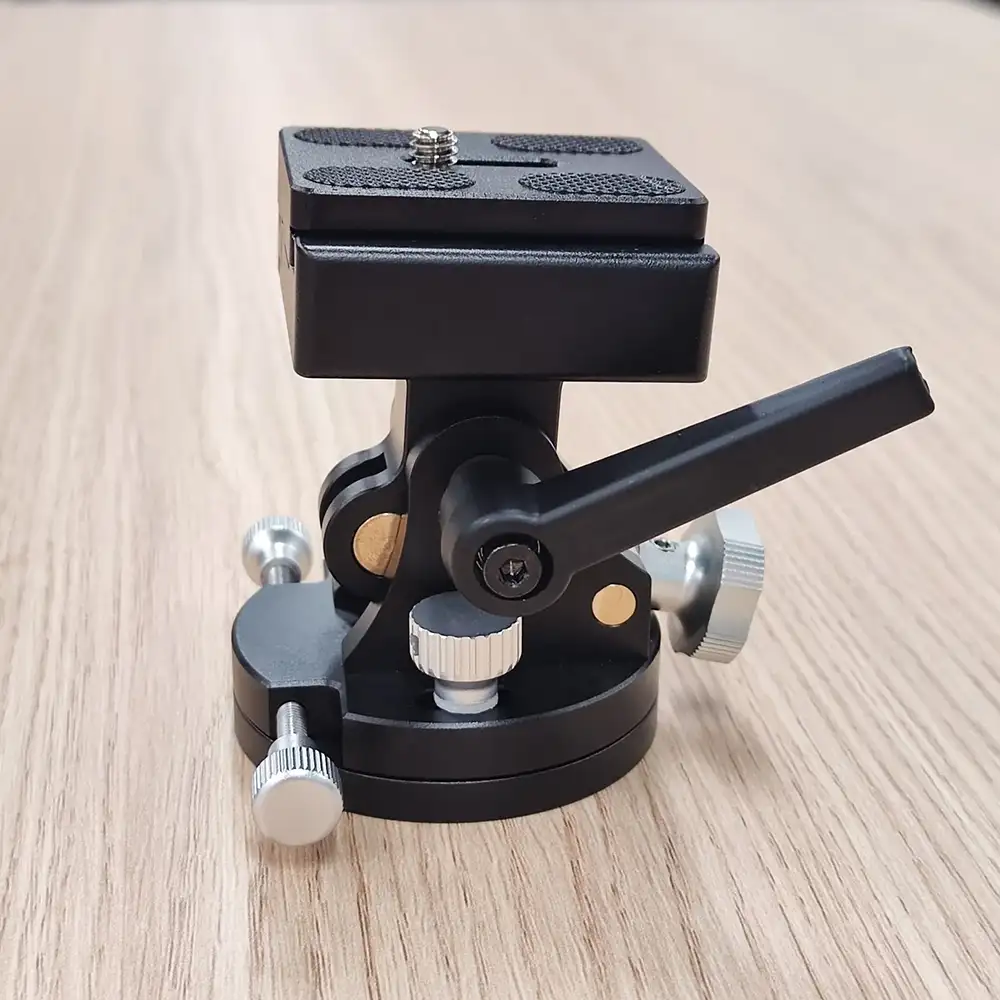
1. Mount the Wedge on the Tripod:
– Ensure the wedge is tightly mounted to the tripod for stability.
2. Attach the Quick-Release Plate:
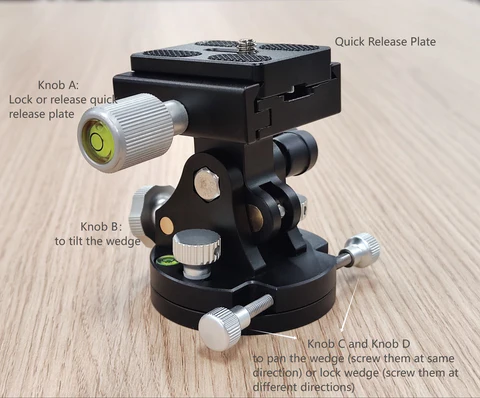
– Screw the Quick-Release Plate into the bottom of your rig (e.g., camera, MSM Star Tracker, or others.)
-Tip: Nomad Tracker has a built-in arca plate, so it can pass this step.
3. Secure the Rig:
– Loosen the Quick-Release Adapter and slide in the Quick-Release Plate, then tighten it.
4. Tilting:
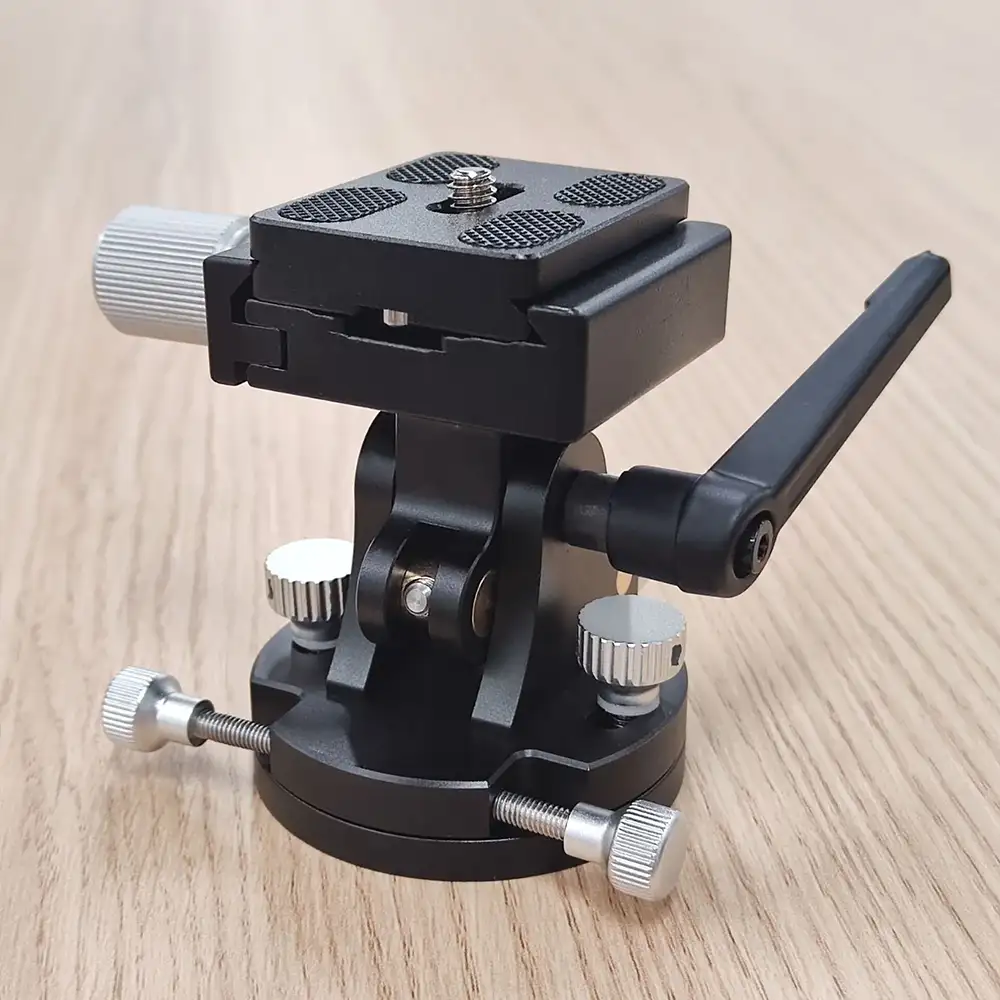
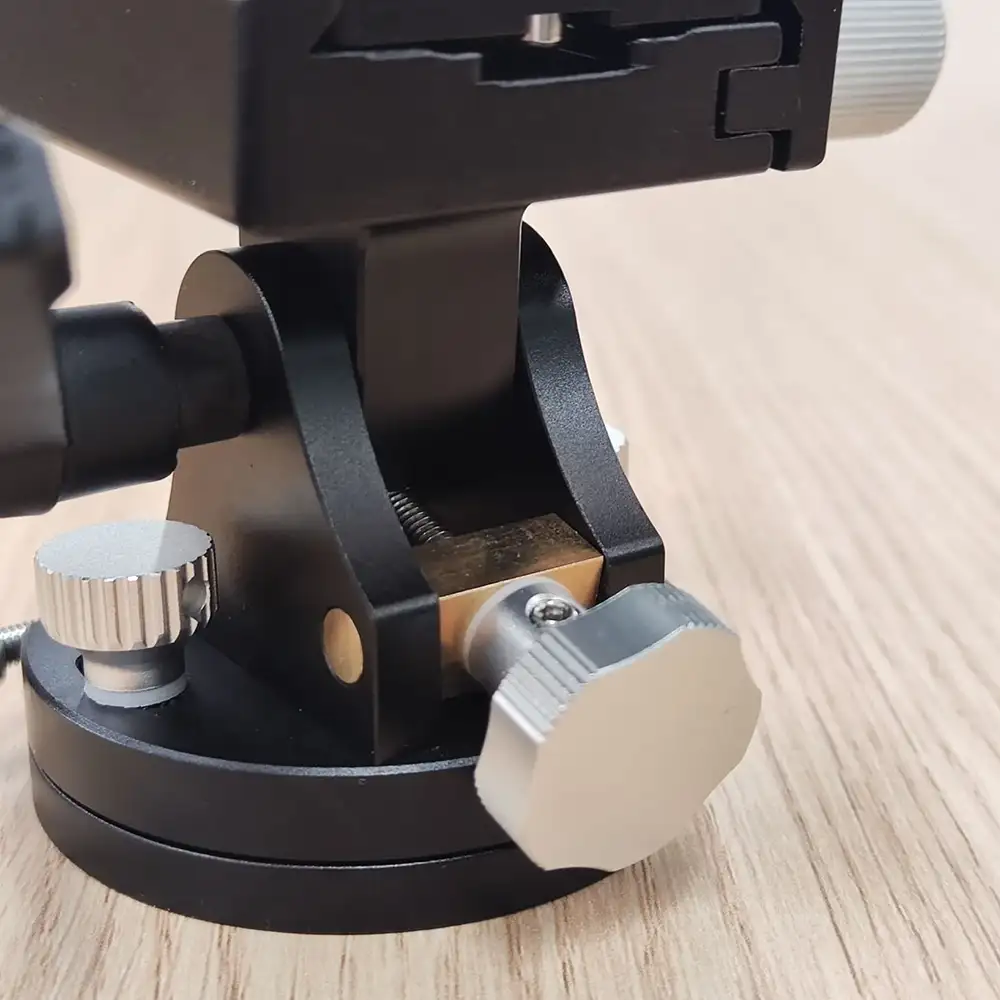
– Loosen the handle (turn in the opposite direction of Knob B) to unlock altitude adjustment.
– Tilt the wedge by rotating Knob B, then lock it by turning the handle towards Knob B.
– Tip: Slight tilting is possible even when the handle is locked, the main purpose of this handle is to stabilize the whole wedge but not totally lock it.
5. Panning
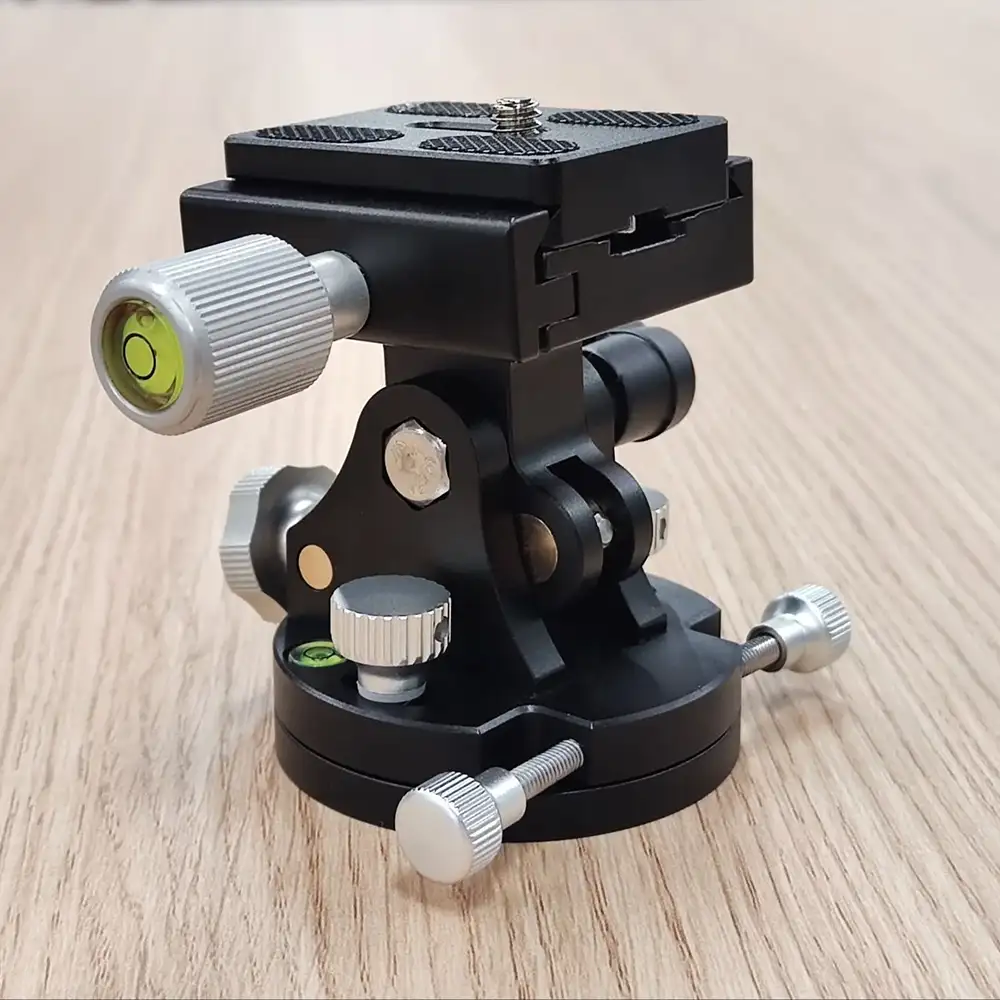
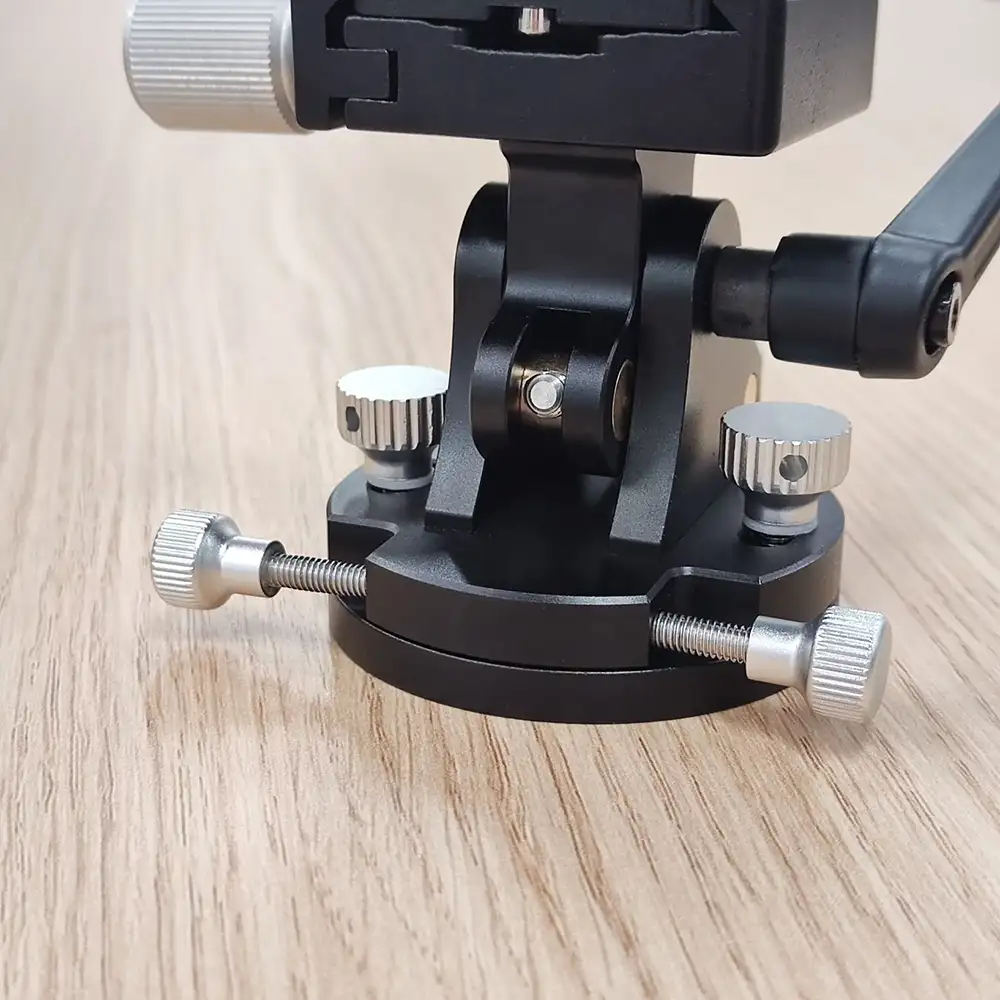
– Use Knob C and Knob D to adjust the azimuth.
– To pan the wedge left or right, turn both knobs towards you or outwards simultaneously.
– Tip: Continue turning the knobs until one reaches its limit; this will allow further panning.
– To lock the wedge in place, turn both knobs at the same time towards the center.
– To unlock, turn both knobs simultaneously outwards.
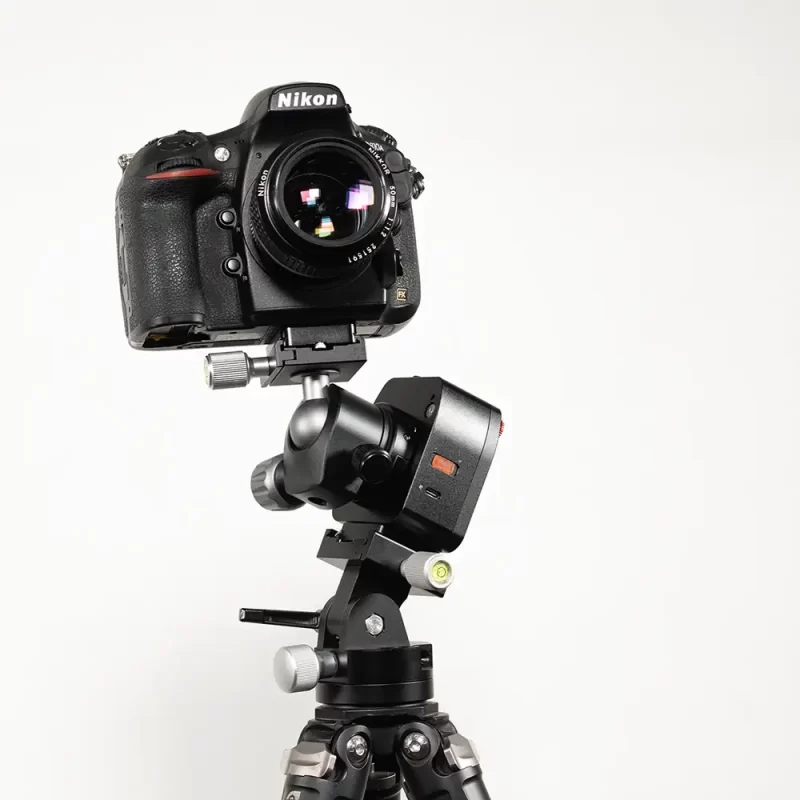
By following these steps, you can ensure precise adjustments for optimal positioning of your tracker or camera. The combination of altitude and azimuth controls allows for highly accurate alignment, making your astrophotography setup both versatile and reliable.


Reviews
There are no reviews yet.